Shelf for shoes: how to do it yourself? DIY shoe rack: features
A shoe rack is a necessary thing in any apartment or house. Although the choice of this piece of furniture is quite wide, it is not necessary to buy it in the store. Try to make a shelf yourself so that it fits perfectly into the space of your home.
How to make a shoe rack: photo and description
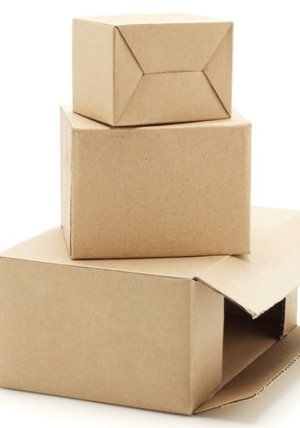
A shoe rack made from a cardboard box is the most budget option. Here there is a place for your shoes, and for sneakers, and for sandals. In addition, in the hallway, it will take up very little space. This is very true for those who have a small corridor.
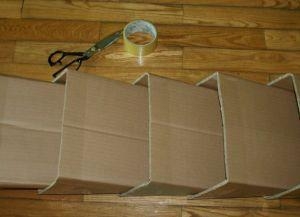
- On the box that you have (from under the TV, the refrigerator, it doesn’t matter) with a pencil and a ruler, mark the outlines of the blanks - rectangles with a length of 30 cm and with the width of the side of the cardboard box. The number of parts depends on the desired height of the shoe shelves. Now cut out the blanks. It is convenient to do this with a cardboard knife.
- Fold each rectangle as follows: divide it into 3 equal parts, bend 2 side ones into triangles. Do the same with each of the blanks.
- Then loosely lay all the blanks on top of each other so that there are grooves for pairs of shoes, and secure them with tape.
- After that, fasten all the parts together with staples taken from the cardboard box.
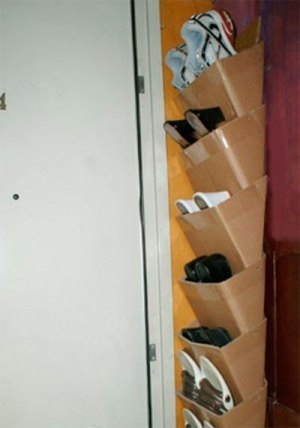
- It is recommended to install a shelf in the hallway at the side of the cabinet, fixing it well.
- If desired, the product can be pasted over with the remnants of wallpaper or self-adhesive film, which will give it a neater look.
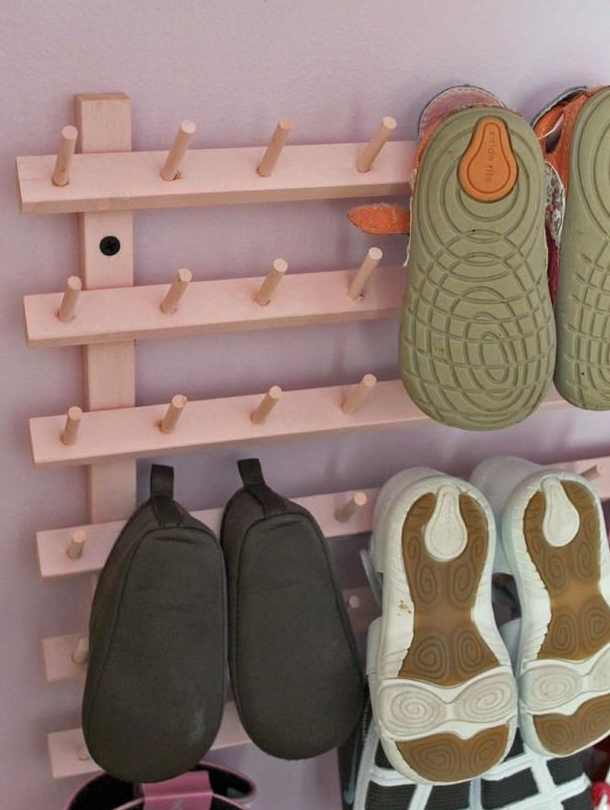
DIY shoe rack: features
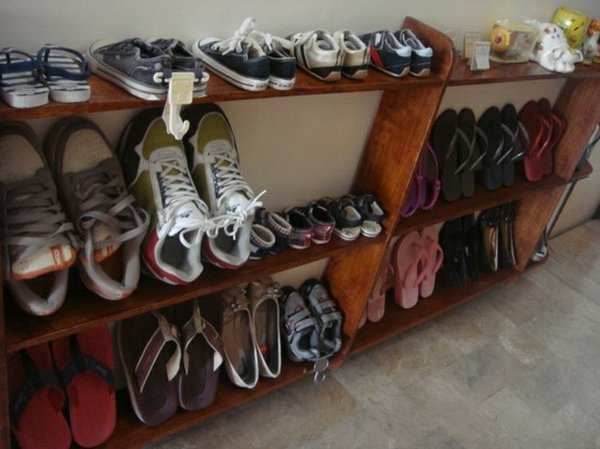
A handmade shoe rack will help you conveniently store your shoes.
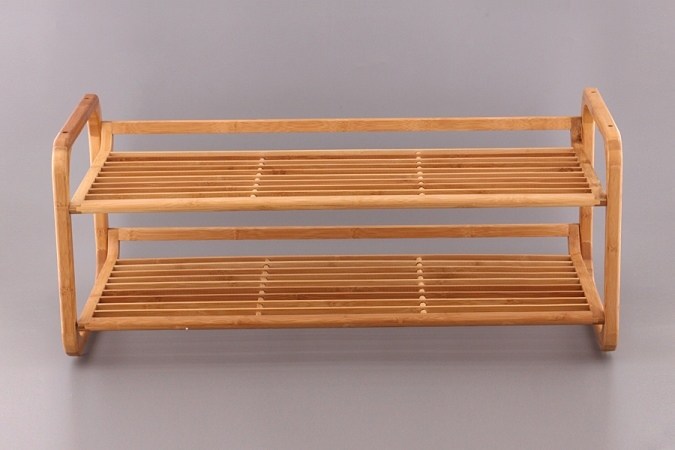
First, decide which model you need - horizontal or vertical. In addition, your shoe rack can be either open or closed. This, above all, depends on the size of the hallway and the taste of the owners of the apartment.
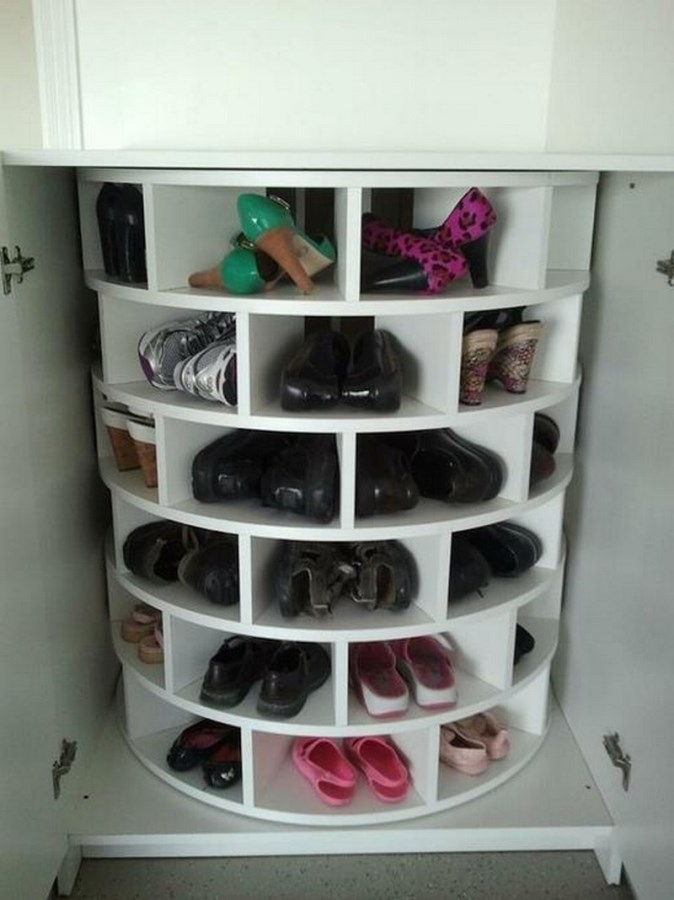
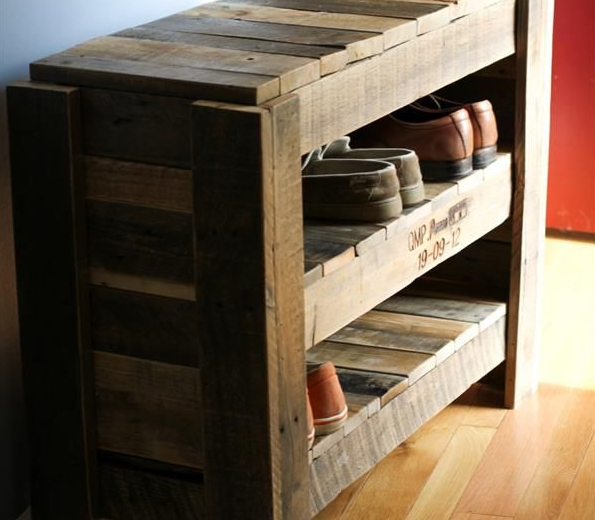
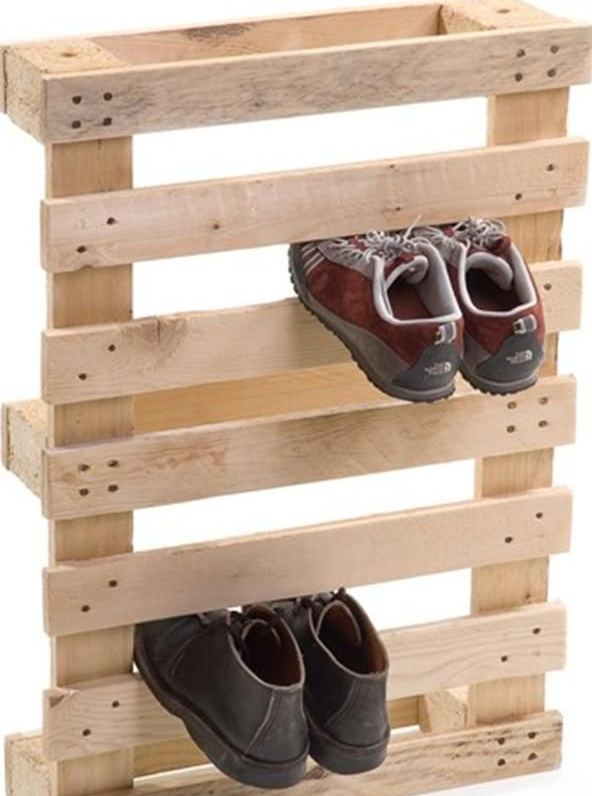
In a vertical shoe rack, shelves can be both horizontal and reclining. There may even be a built-in so-called carousel. Initially, measure well the place where the shelf will be located and decide on its size. Now decide what it will be made of. Different materials are suitable for the manufacture of shoe racks, but chipboard will be the most budget option.
Mark all the details on the material with a pencil. First of all, the walls, the back, the shelves and the door, if any. Determine the distance between the shelves in accordance with the shoes that will be stored here.
Now carefully cut out all the details and process the edges with sandpaper. Mark the mounting points in advance. Fasten the shelves first to the back wall, then to the side walls. If there is a door, it is fastened with hinges.
If you plan to build a carousel into a shoe rack, then a metal pipe will be needed to make it. Cut out as many circles from chipboard as you need shelves. Choose the diameter of the circle according to the size of the intended shoe cabinet. In addition to these circles, prepare circles with a smaller diameter (2 times smaller than the main ones). They are fixed under the large ones, it is with their help that the shelves will be fixed on the pipe.
In addition, for the reliability of the whole structure, fasten 2 metal corners under each small circle. The carousel is attached to the closet with the help of small circles - from above and below to the base of the shoe rack.
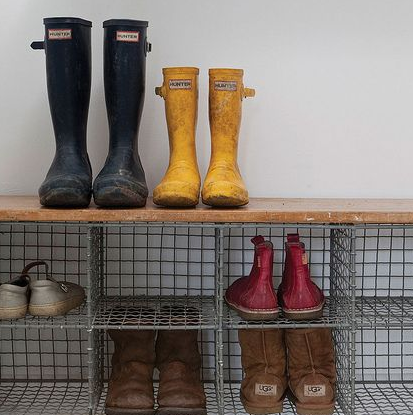
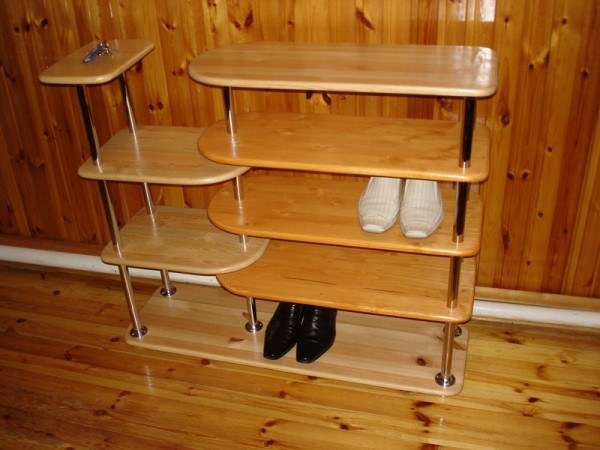
Shoe shelf can be horizontal. In this case, organize a seat on top of it, which will be very convenient for changing shoes. Then calculate the height of the shoe rack so that it is comfortable to sit on it. Its assembly is done in the same way as a vertical structure.
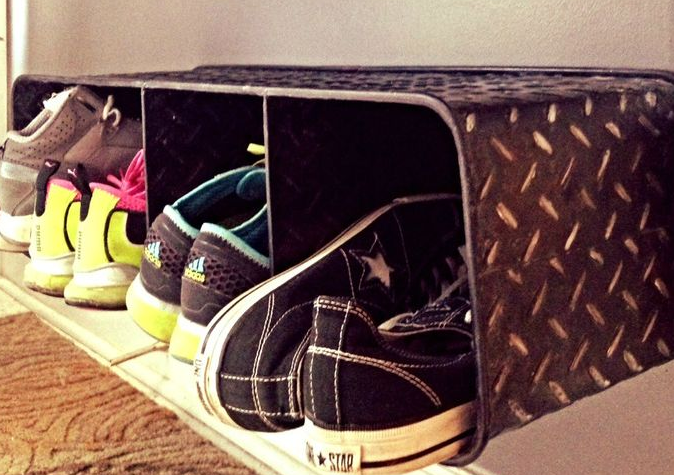
Shelf for shoes: photo