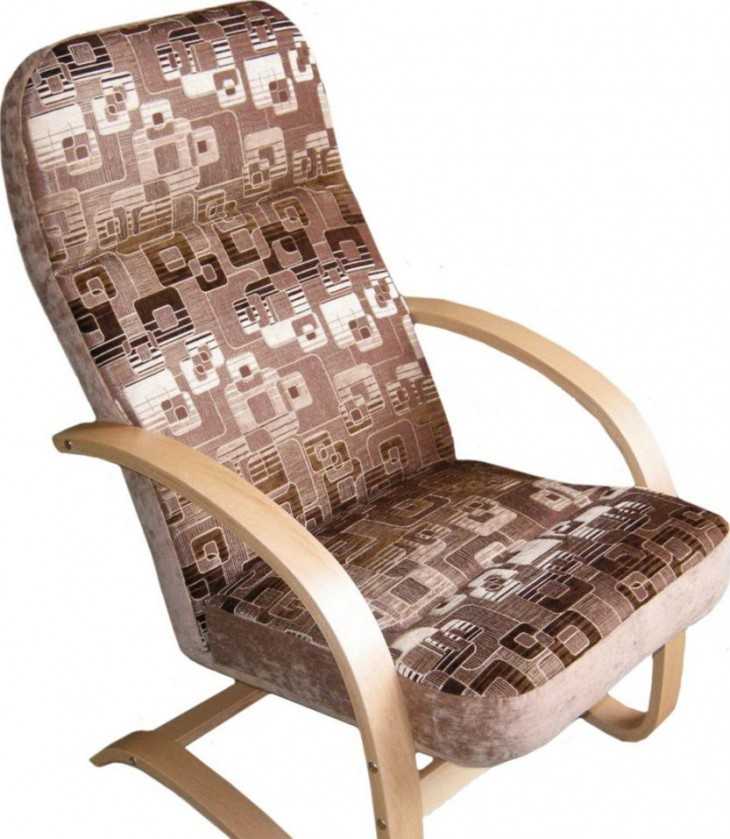
DIY rocking chair (59 photos): drawings, convenient options, tips for creating
A rocking chair is a very necessary and comfortable thing that helps to relax while relaxing, or, conversely, to concentrate while working. In the furniture market, you can choose this piece of furniture for different tastes and for different price categories.
But there is a more reliable and less expensive option - to make a rocking chair yourself at home. It is important to carefully calculate and measure all the details, because if the exact balance is not observed, the chair will either not move or tip over on its side.
The main types of rocking chairs
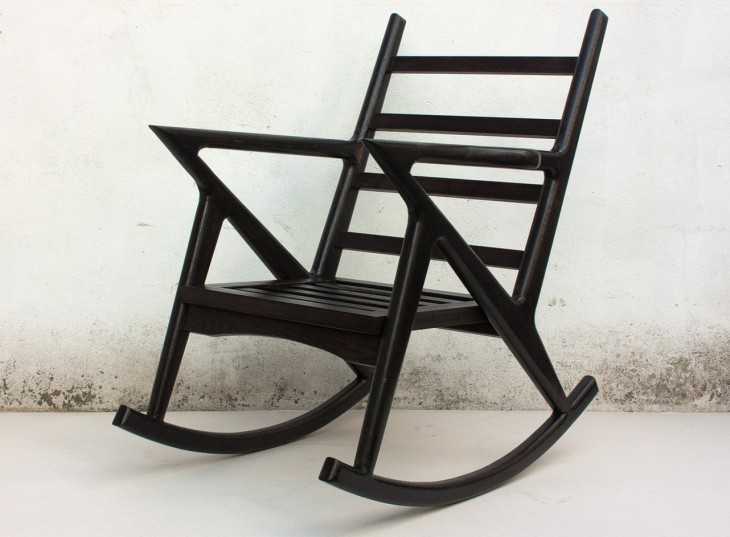
Below are photos of rocking chairs of different types.
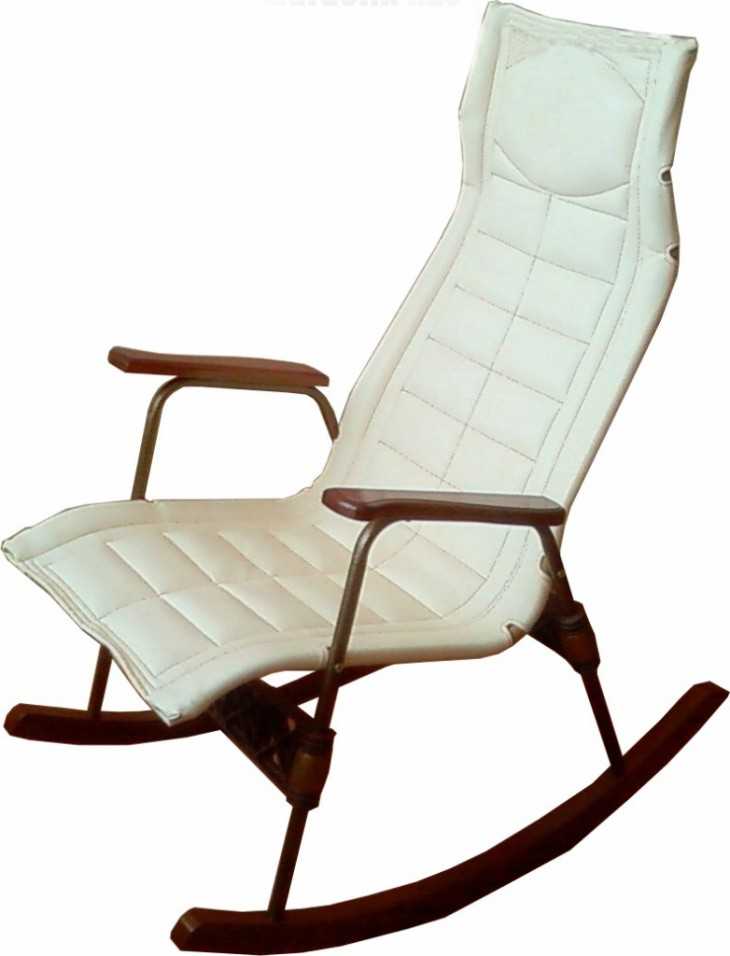
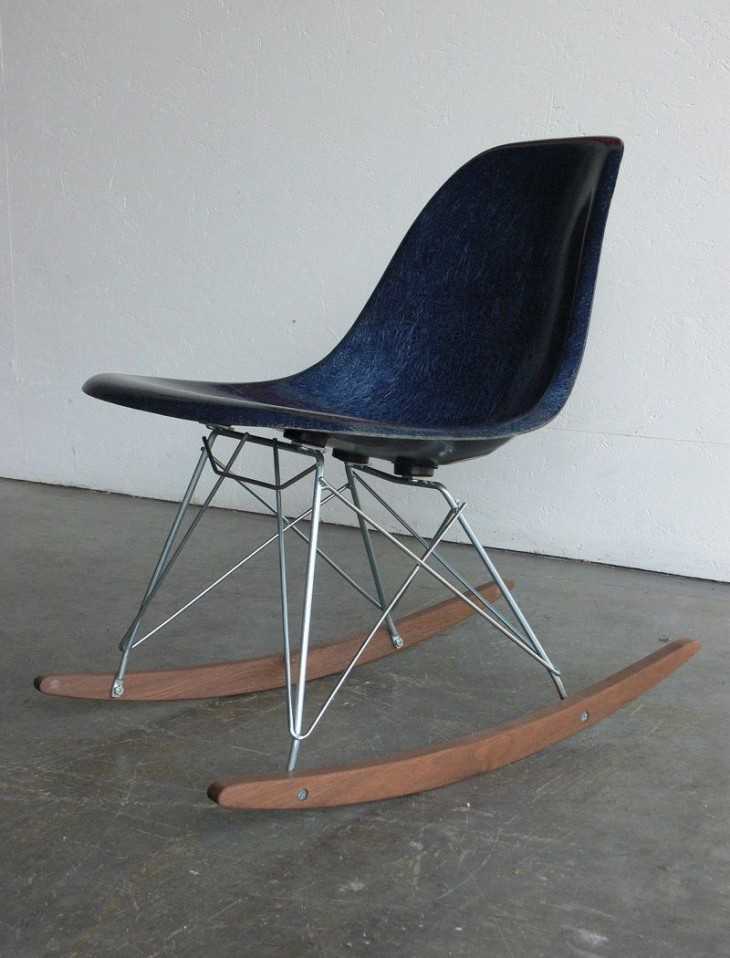
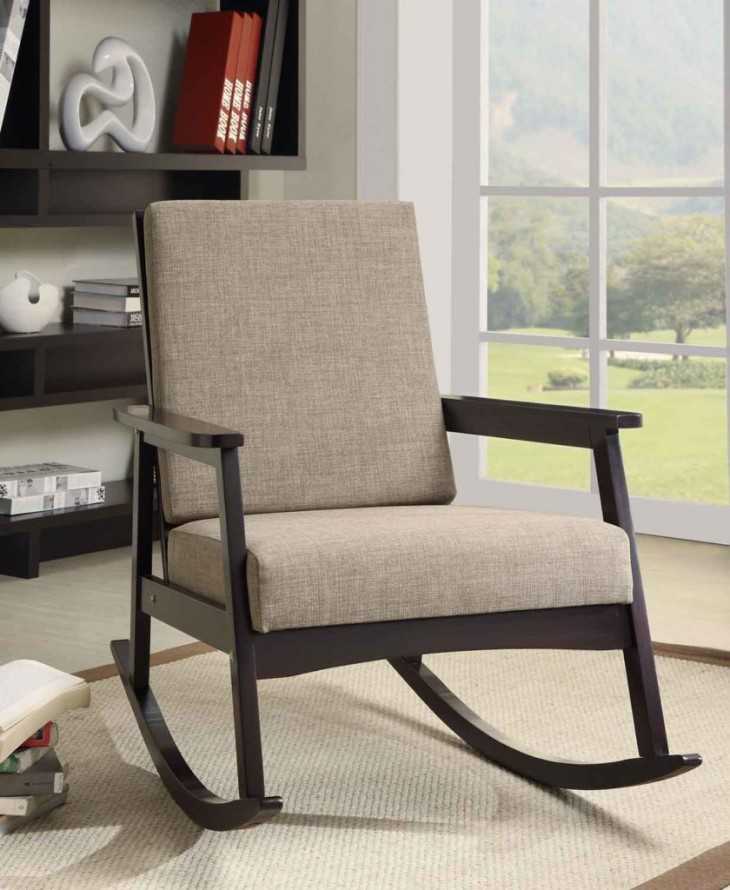
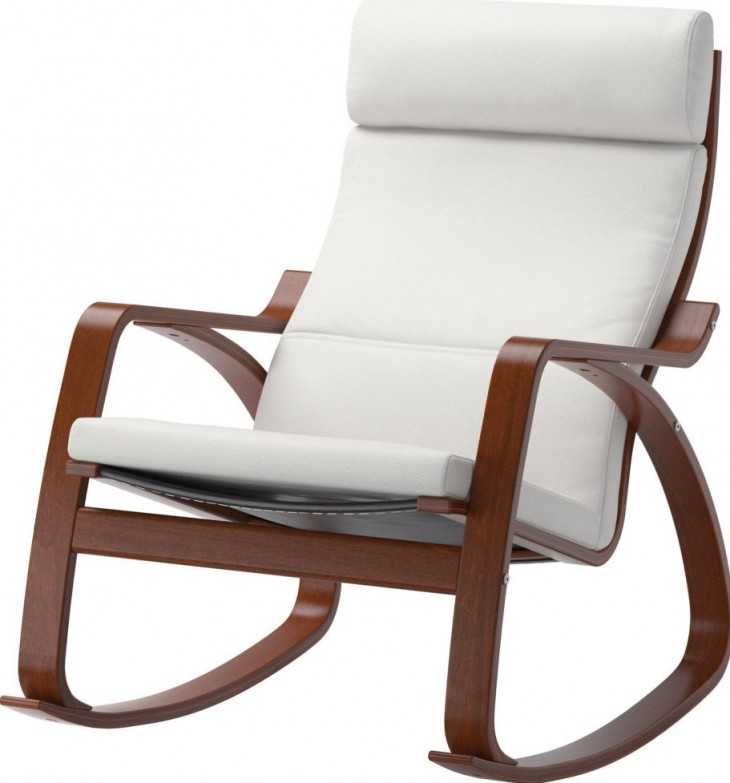
Armchair on skids
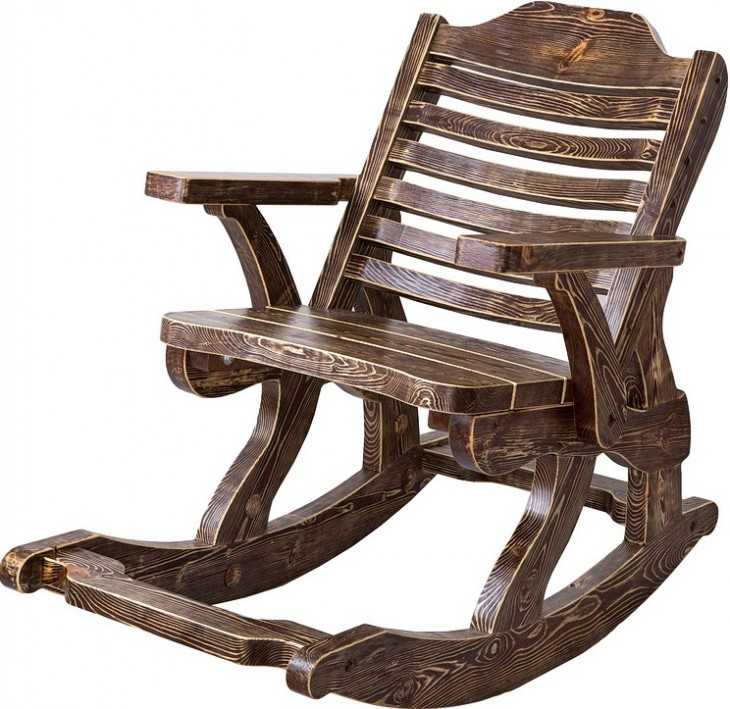
The chair is the most popular among users, that is, it has radius skids. Such a rocking chair is distinguished by its simple design and rather simple assembly technique.
The disadvantage of such a chair is that it will not be possible to swing strongly, as it will simply tip over forward or backward.
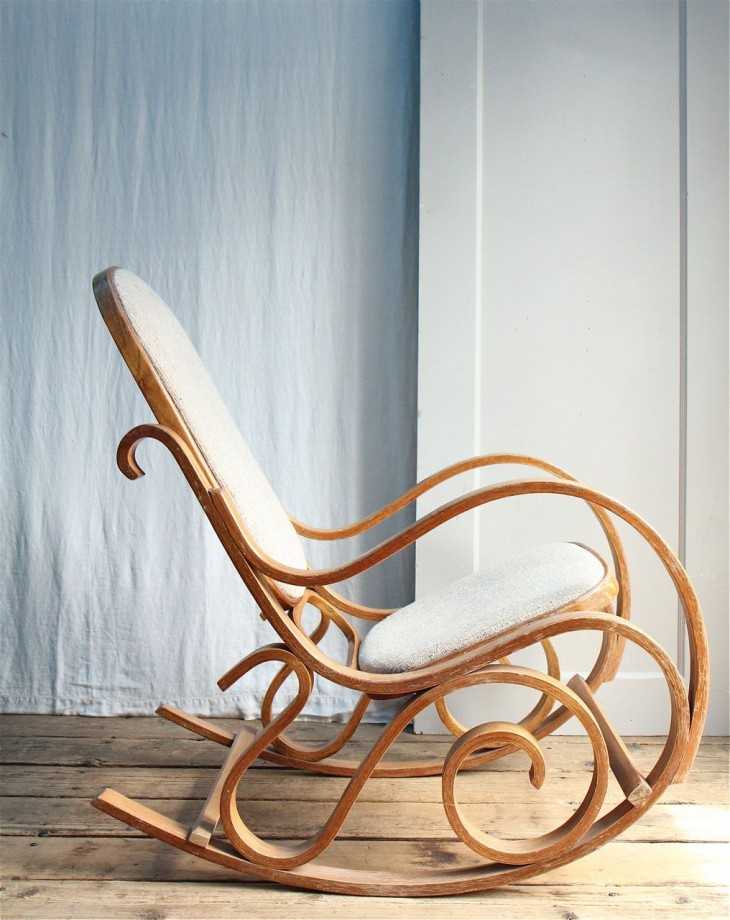
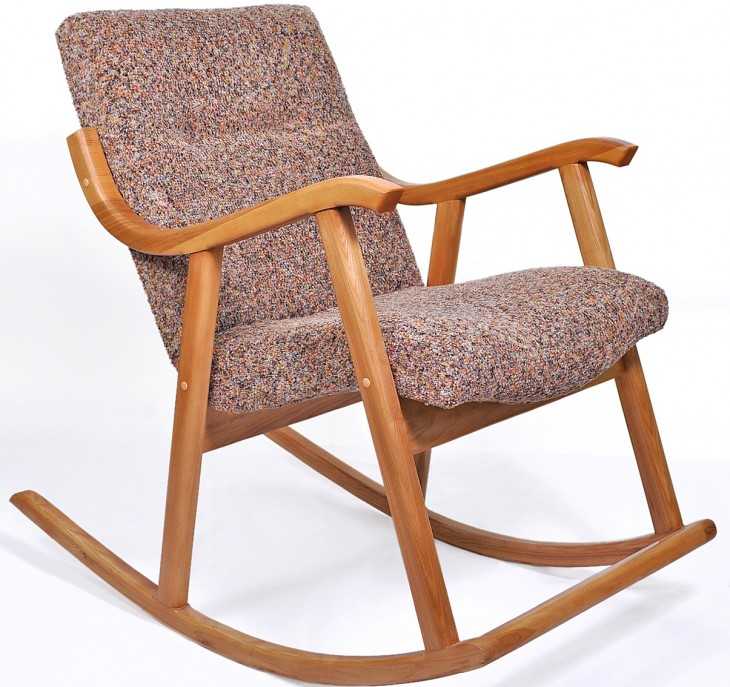
Armchair with variable curvature
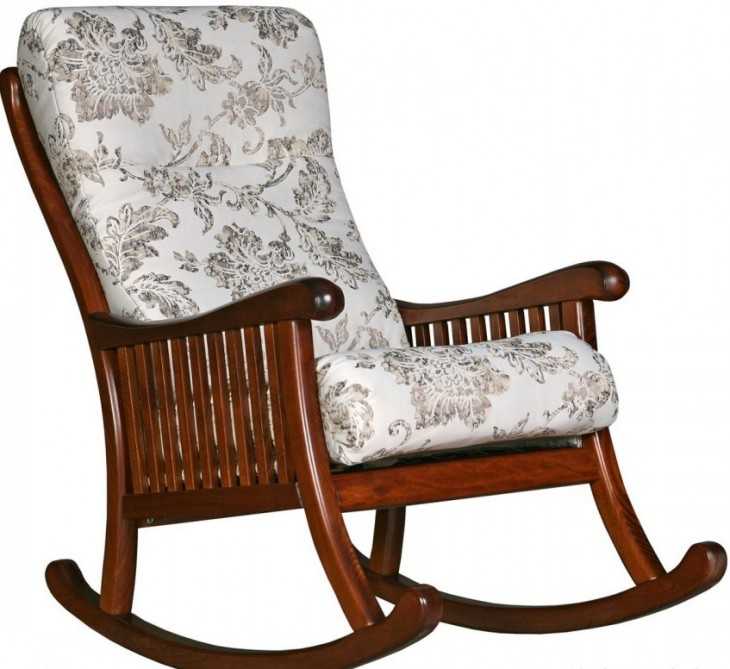
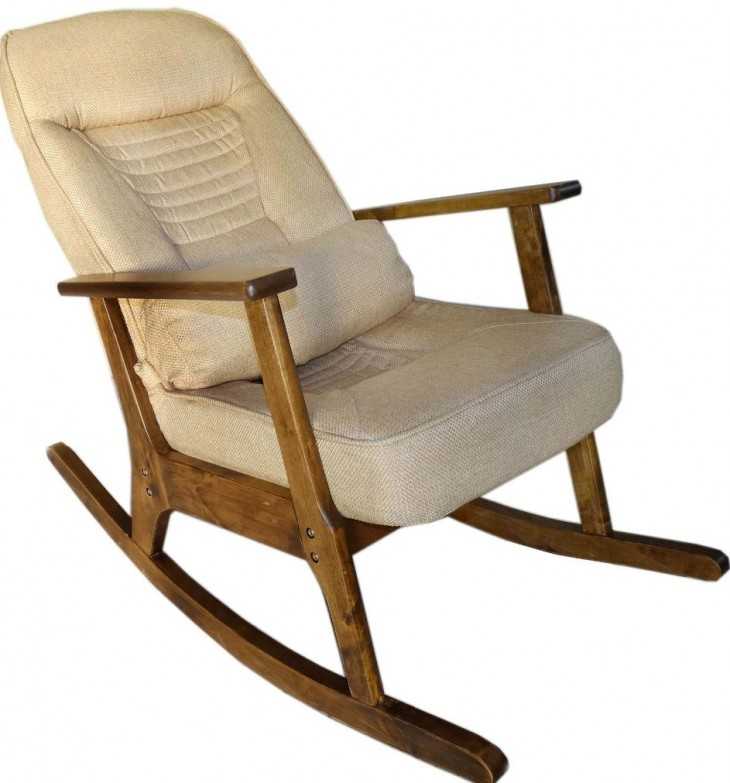
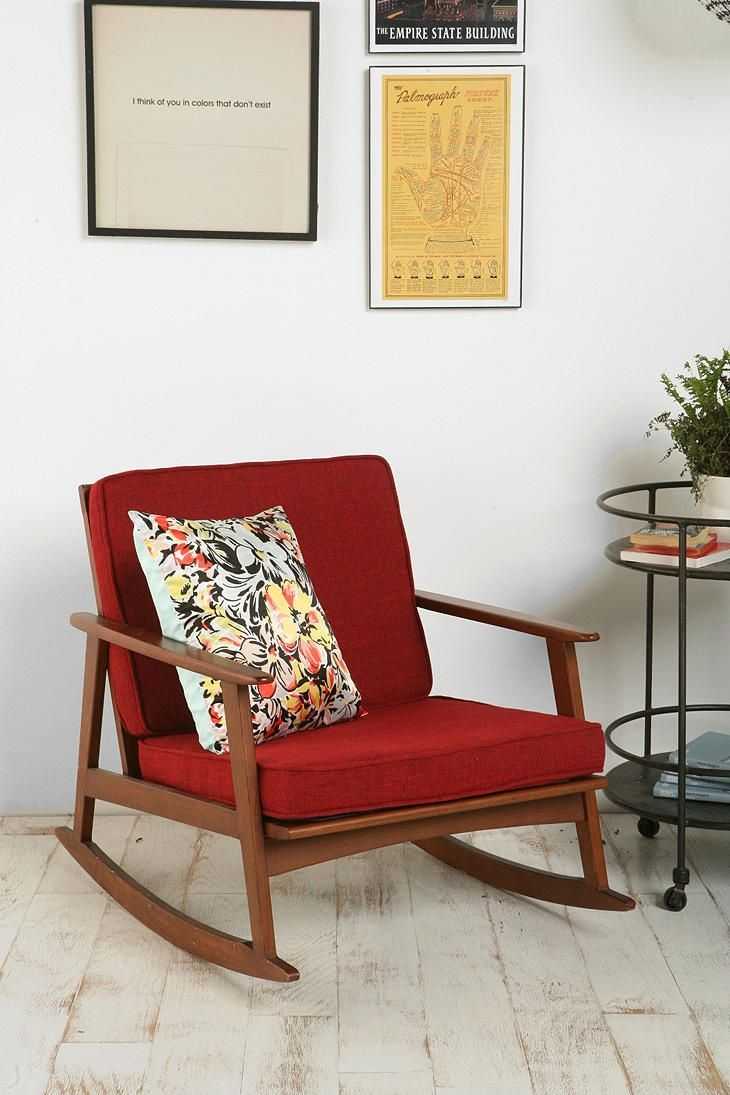
Armchair with variable curvature eliminates tipping over. It is the most comfortable to use and allows almost any landing height.

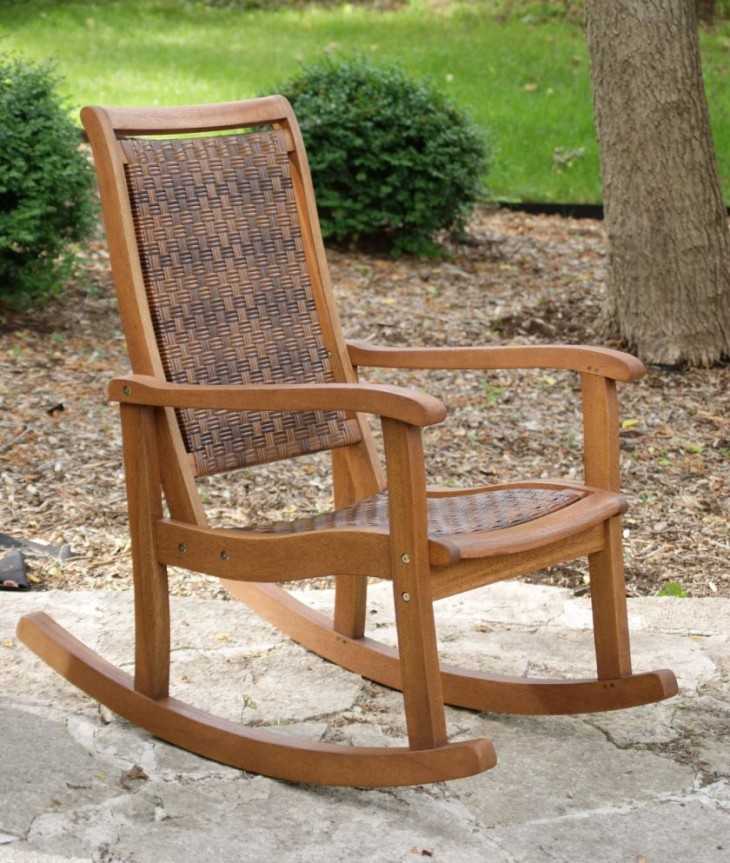
Armchair on elliptical runners
The chair on elliptical runners is equipped with bumpers to prevent tipping over.

Multifunctional armchair
The multifunctional chair has another name "3 in one". Such a piece of furniture, if necessary, can be turned into a sunbed, but its dimensions are quite overall, so use is available only in relatively large rooms.
Materials for manufacturing
Usually rocking chairs are made of wood, as the metal is too heavy for such a construction. Most often, beginners assemble a plywood rocking chair without violating the following recommendations:
- the plywood of the middle layer should be much thicker than for the edges;
- it is necessary to use predominantly waterproof glue, or when using PVA, it is better to fix the parts with small carnations;
- all connections are treated with glue, securing them with several self-tapping screws on both sides;
- it is reasonable to protect the surfaces on which the entire mass rests with rubber or strong wooden slats in order to avoid plywood chipping from the load.
- for greater strength, the finished structure must be treated with a special emulsion or water-based varnish.
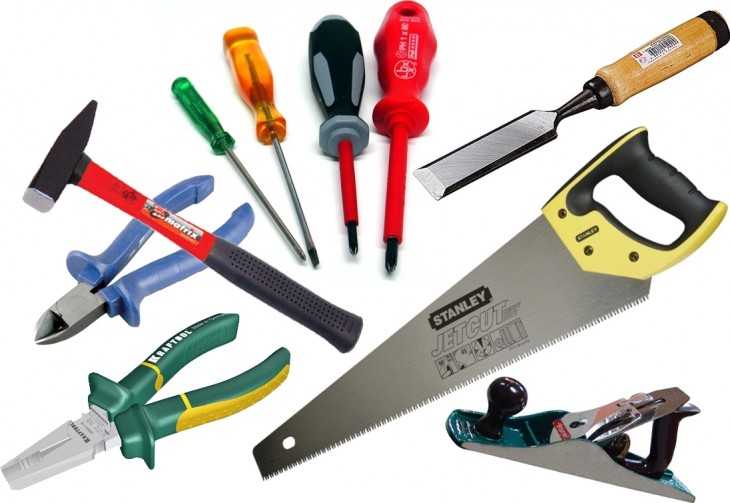
Of the tools, an electric jigsaw, a screwdriver, a drill and a hammer are useful.
A forged rocking chair, of course, can only be made by a specialist, since special equipment and premises are required.
Of course, it is possible to make such a chair by welding metal profile pipes that resemble wicker rocking chairs. But this option is more suitable for the garden street area.
Also in the garden you can place a lounger with an awning (like a swing), which is a little more difficult to make, but it will be a lot of fun to use!
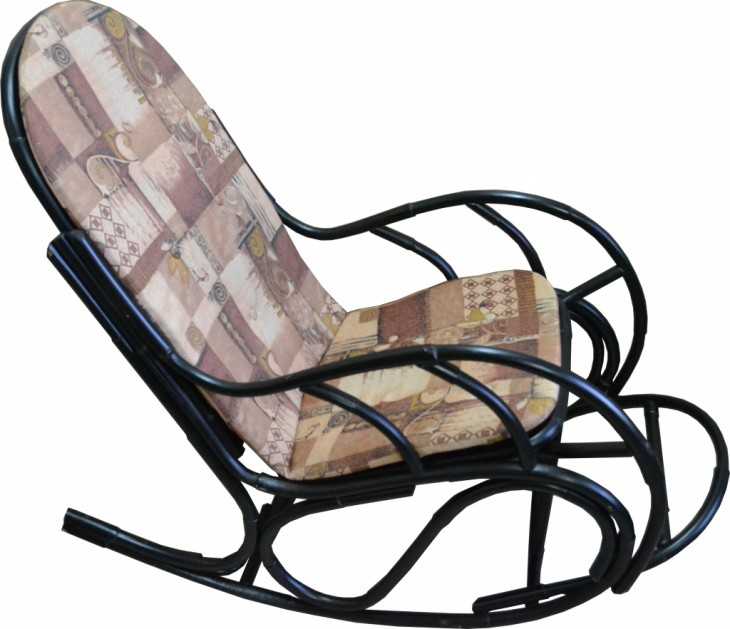
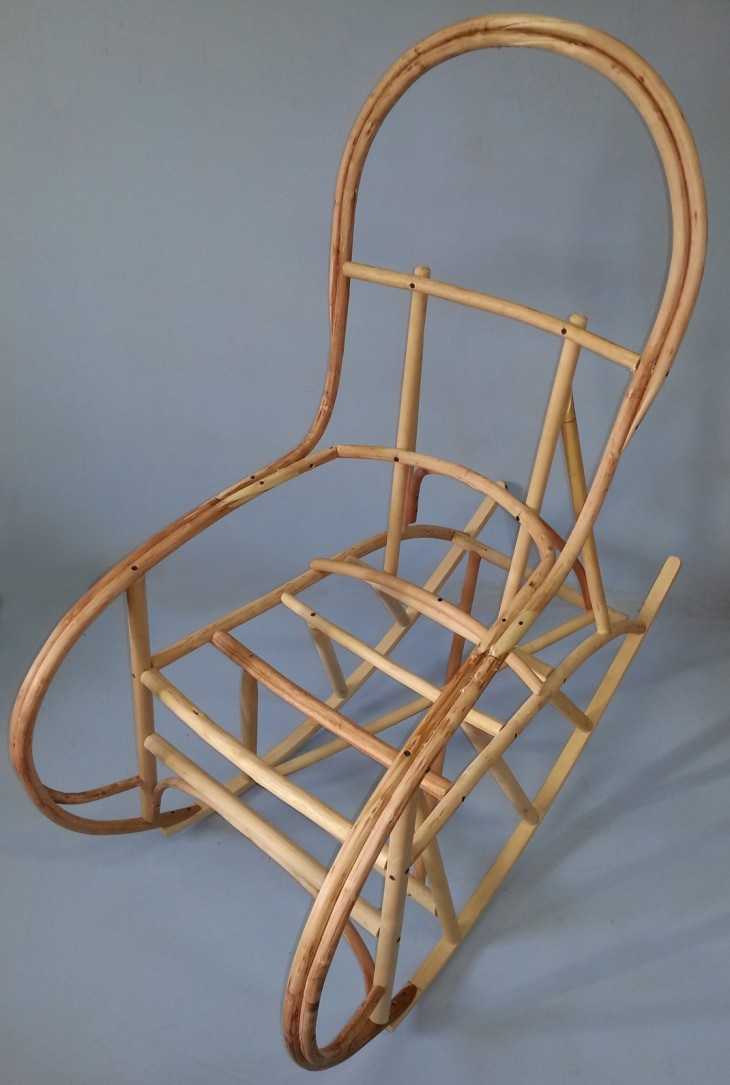
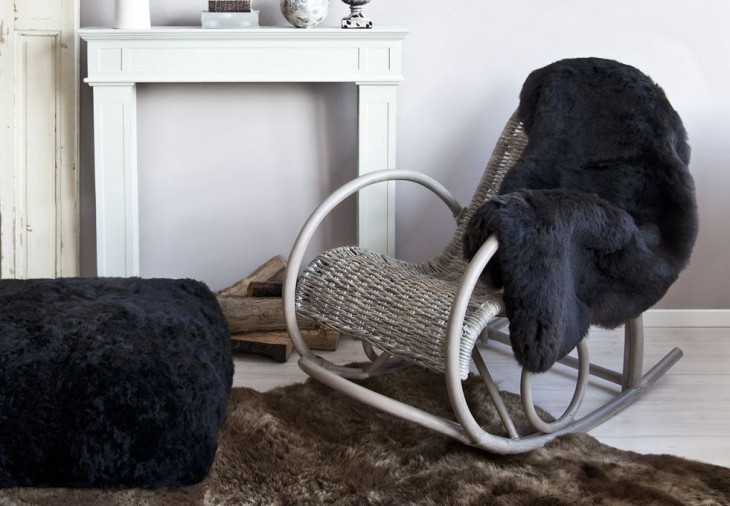
For home coziness and comfort, it will be more aesthetic to use a tree, decorating it with wicker rattan rods.

A rocking chair for children is also easy to arrange, but its proportions will differ from the adult version. Making it yourself is not at all difficult even for a beginner.
Important steps and rules of work
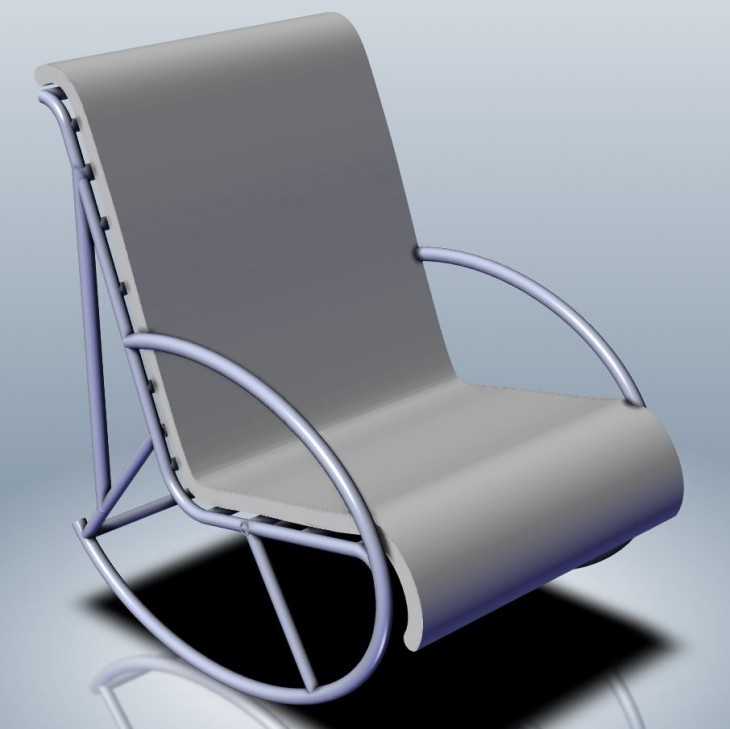
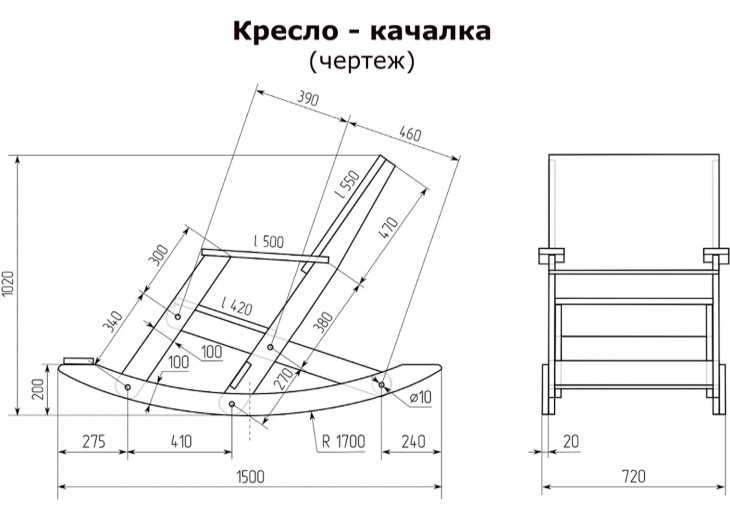
Before you make a rocking chair with your own hands, you need a competent drawing! Most often, self-taught masters find ready-made drawings of a rocking chair on the Internet, but it is worth considering the mass of the largest person who will use it in order to avoid misunderstandings in the future.
And then, on occasion, it will be possible to put a pillow on the seat, for greater comfort and avoid sharp rocking.
Note!
Beginning masters may not immediately get the ideal option, even if all sizes of the rocking chair are observed. This can easily be corrected by balancing the product.
The rear overhang can be made heavier by simply joining the rear ends of the skids with a stick in a "U" shape. So the rocking chair will be easier to go and "not shove" when rocking.
When tilting the chair back, accordingly, it is necessary to attach the weights to the front overhang.
Required pads for chair rails
On the runners of the rocking chair, it is imperative to install pads that prolong its durability and make the furniture wear-resistant.
- you need to turn the chair upside down;
- we heat the bar of the required size quite strongly with a special hairdryer;
- then gently press the hot blank to the skid and wrap it with a dense braid;
- we repeat a similar action with an adjacent skid;
- after waiting for the final cooling of the blanks, we glue them with waterproof glue;
- we fix the lining with small carnations along the entire length;
- after a maximum of three days, when the glue is completely dry, temporary fasteners can be removed. Then finally fix the ends with self-tapping screws;
- the heads of the self-tapping screws must be carefully rubbed with a putty prepared from sawdust of the same material (wood), mixing them with glue.
DIY rocking chair photo
Note!