Do-it-yourself drywall niche - step by step photo instructions
In this master class, you will find a detailed description of the process of installing kitchen walls and ventilation according to a finished design project. We will talk about the features of installing a false wall with a niche using the “from the center” method and provide detailed photographs of this work performed by experienced specialists.
A drywall niche is a popular and spectacular interior element. It can have a different shape, but invariably emphasizes the taste of the owner of the house. We will tell and show you how to make it yourself.
If you do not have a ready-made professional project, create a drawing or sketch with dimensions. In this way, your thoughts and desires will take shape.
Please note that the niche parameters in this case are determined by the size of the tile with which the inside will be lined.
After transferring the marks to the wall plane, we begin to fix the guides. This is a key point, because further dimensions will be postponed from them.

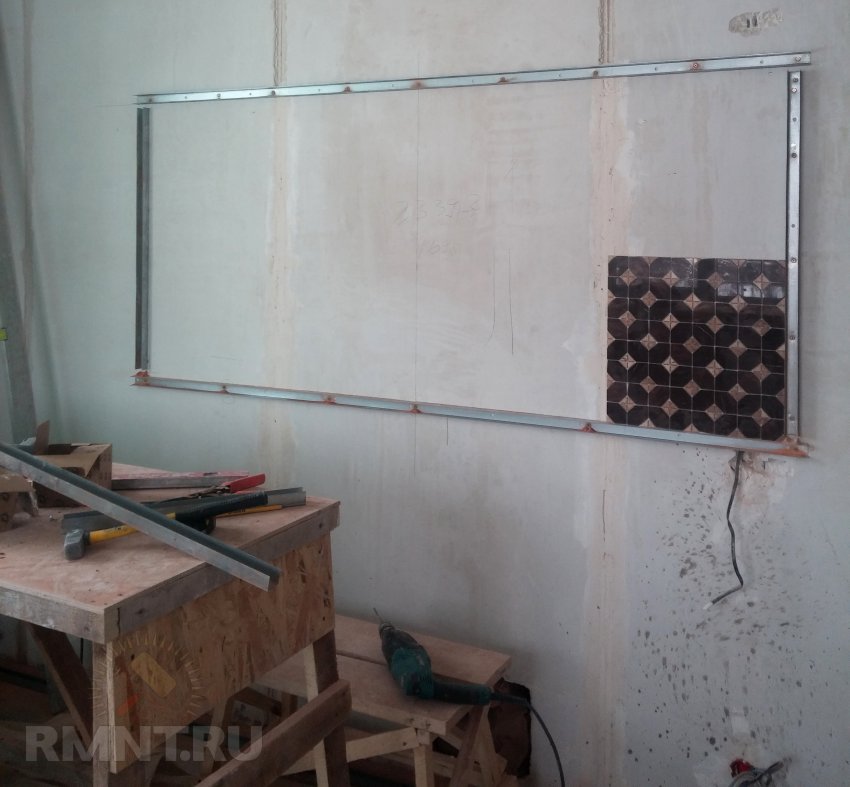
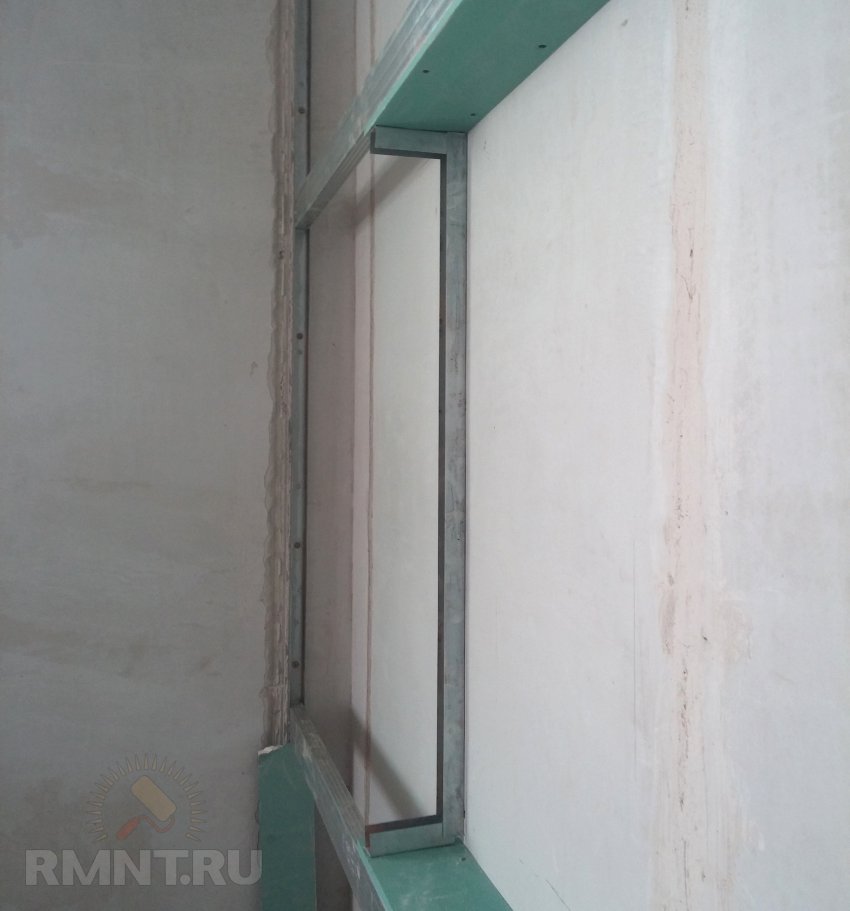
We create the main frame from the UD profile and check its corners - they must be strictly straight. You can use tiles to check.
Then we cut out and wind the plasterboard strips, which will limit the inner plane of the niche.
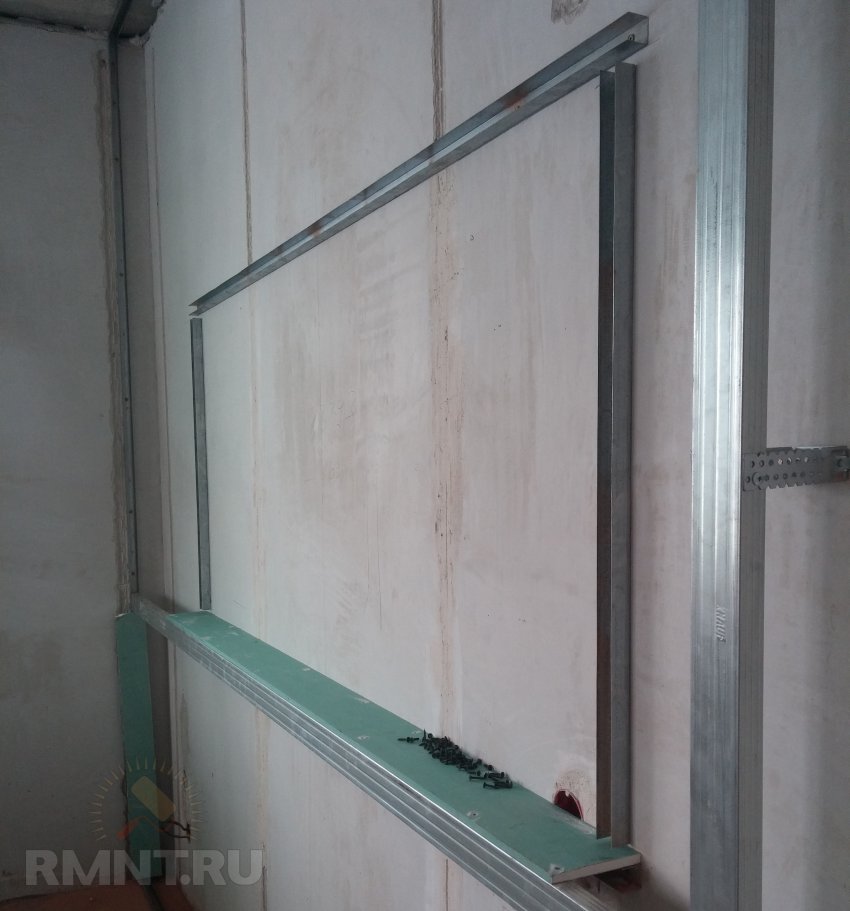
We install horizontal guides, which we associate with vertical racks. In this case, the frame is not built from a common plane, but from the center of the element (niche).
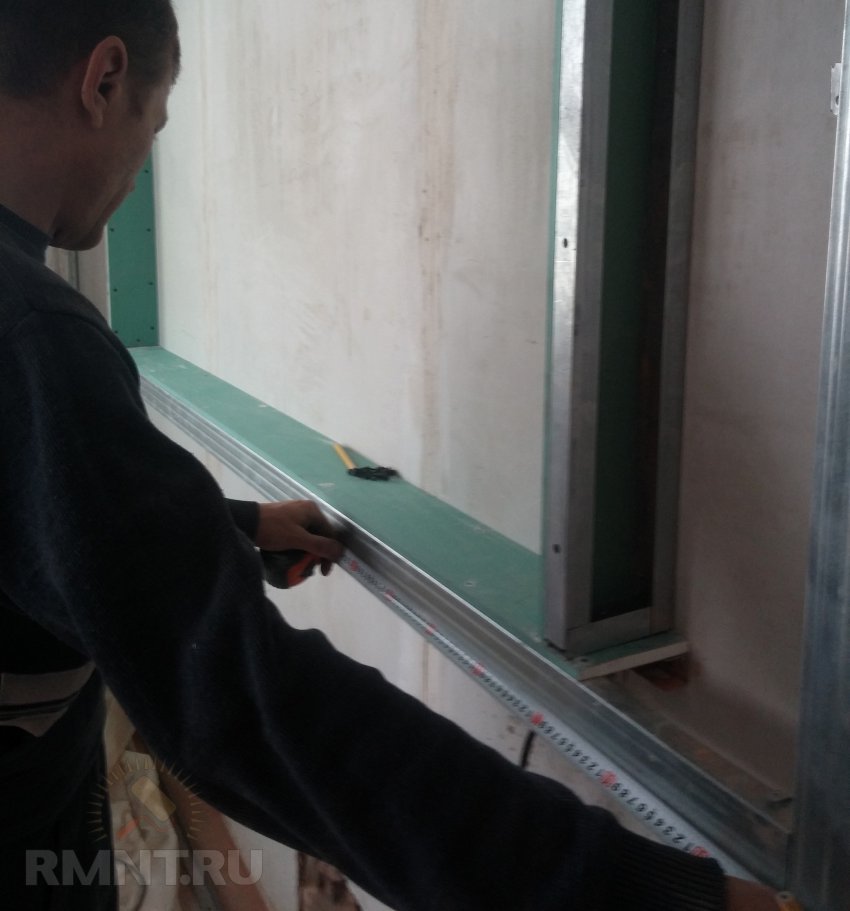
Again we check how the tile enters. If there is an error, it is better to eliminate it at this stage.
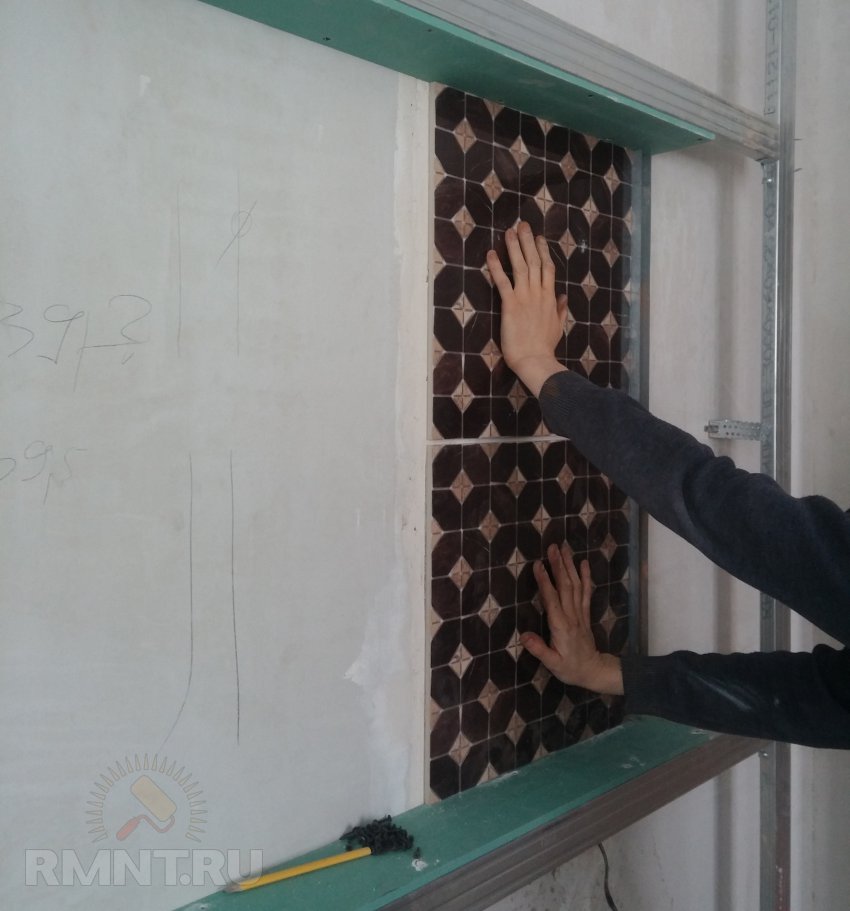
Attention! When trying on tiles, consider the thickness of the putty 2-3 mm.
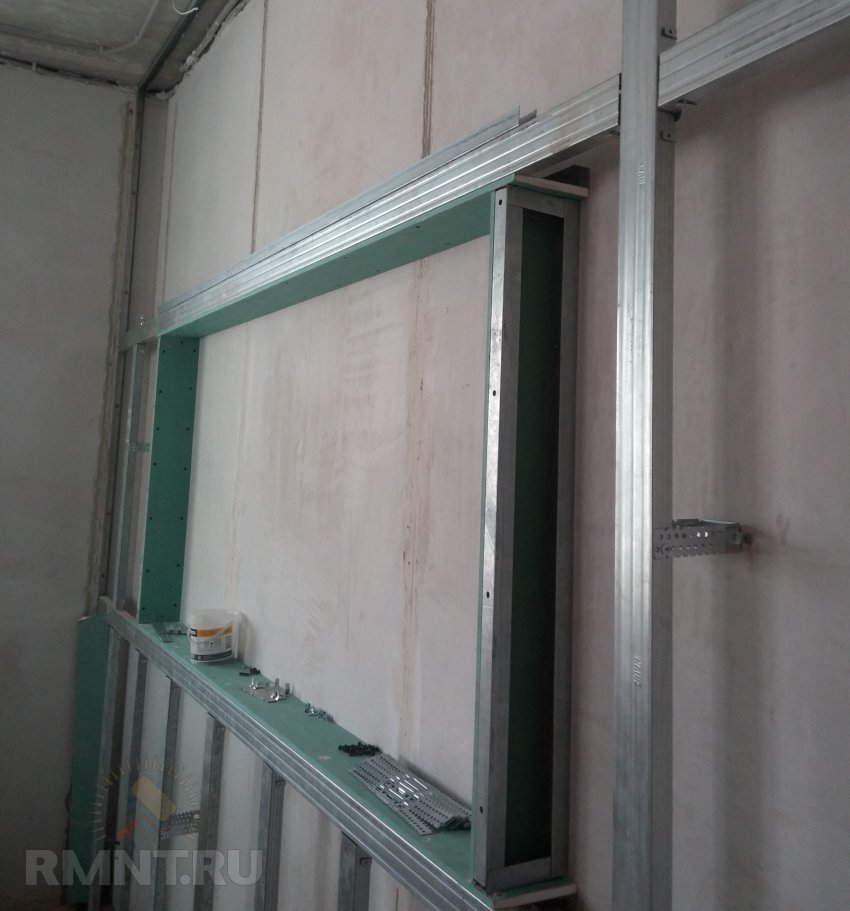
Pay attention to the vertical strapping of the frame and rails. They are installed after the horizontal stripes.
Thus, the fastening and strapping of the entire structure is much more reliable than if the entire frame were made separately.

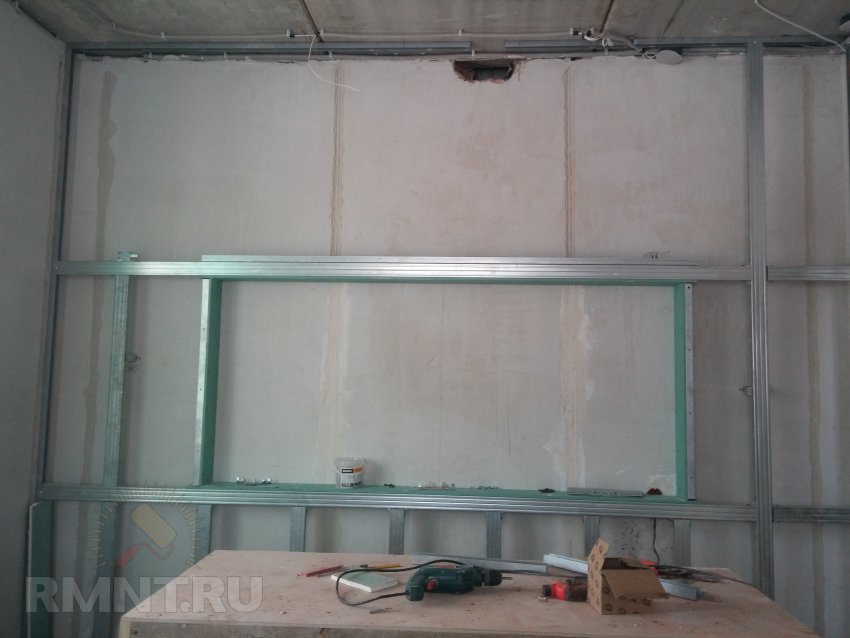
We mark the horizontal guides for the vertical ribs (step 600 mm).
We install the ribs themselves along the lower guide, first on the internal fasteners, and then we bring U-shaped suspensions under them.
![]()
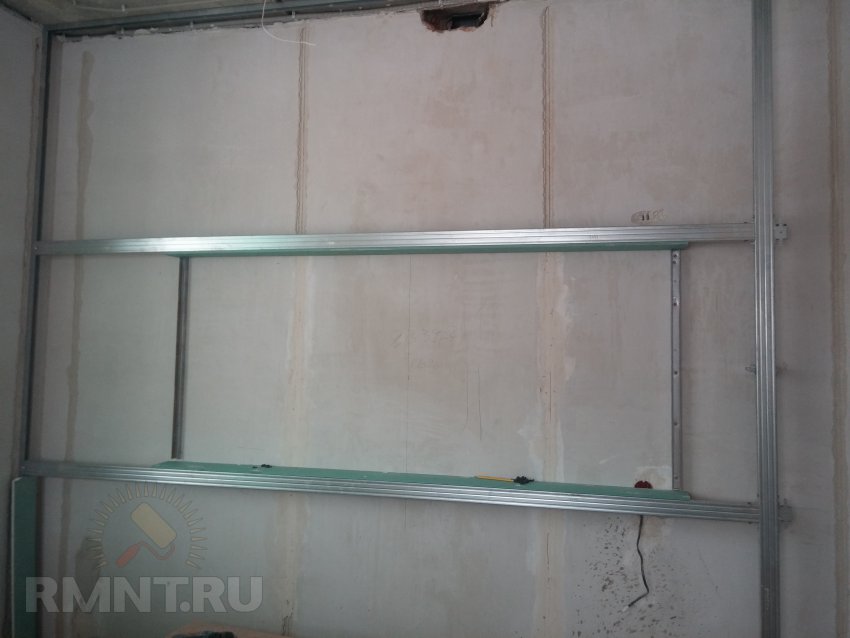
View of the finished frame without the top row of vertical racks (done in the same way as the bottom one):
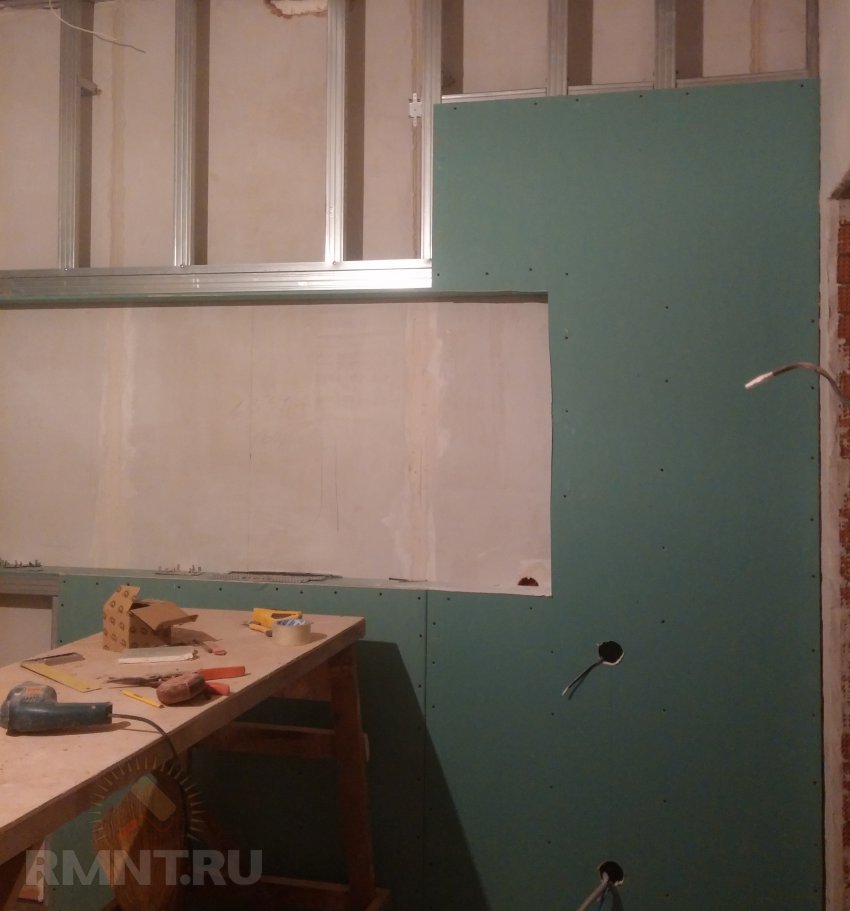
We sheathe the frame with drywall using standard technology.
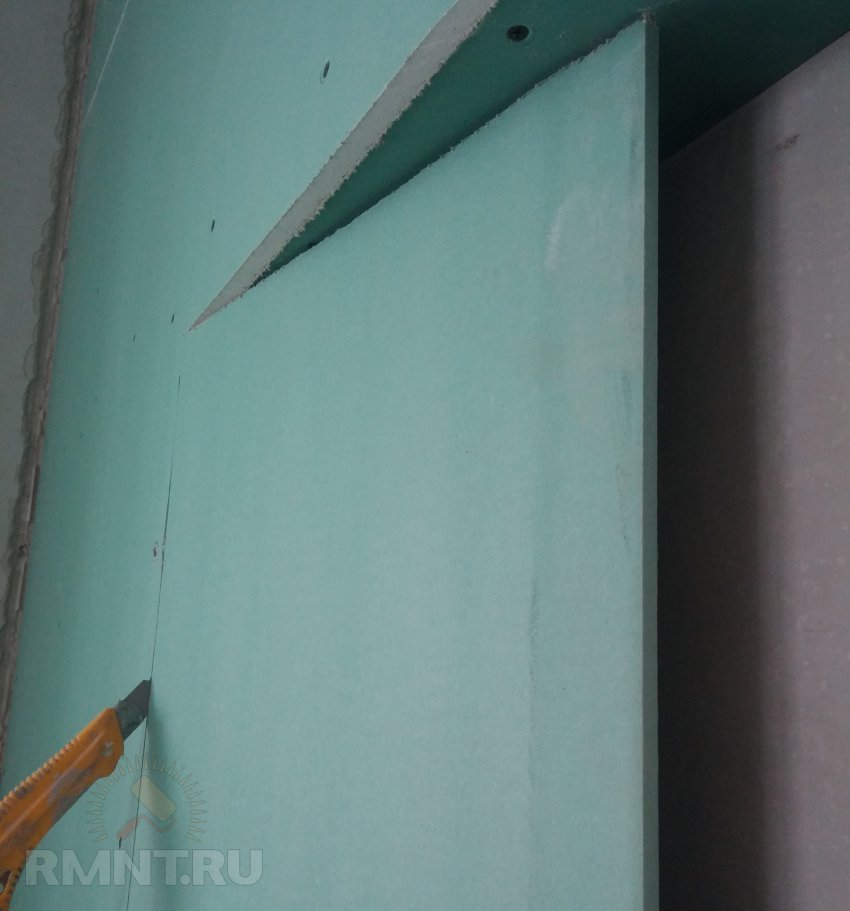
Pay attention to how corners are cut in openings and niches (a convenient way). First, we wind the sheet as a whole.
Then cut it horizontally with a hacksaw.
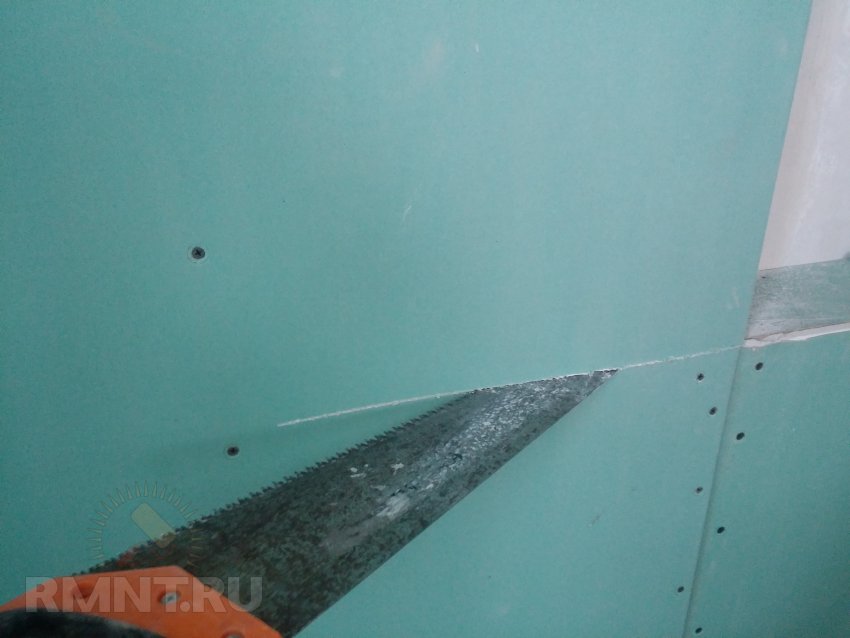
And cut vertically with a knife. This method does not require marking and insures against mistakes when marking - the GKL is cut in place, and one of the planes of the niche serves as a guide.
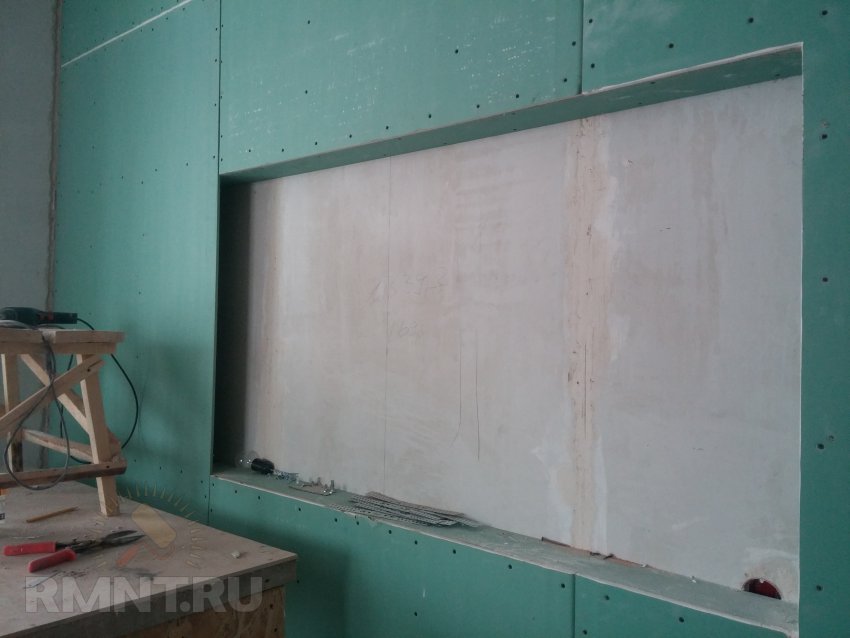
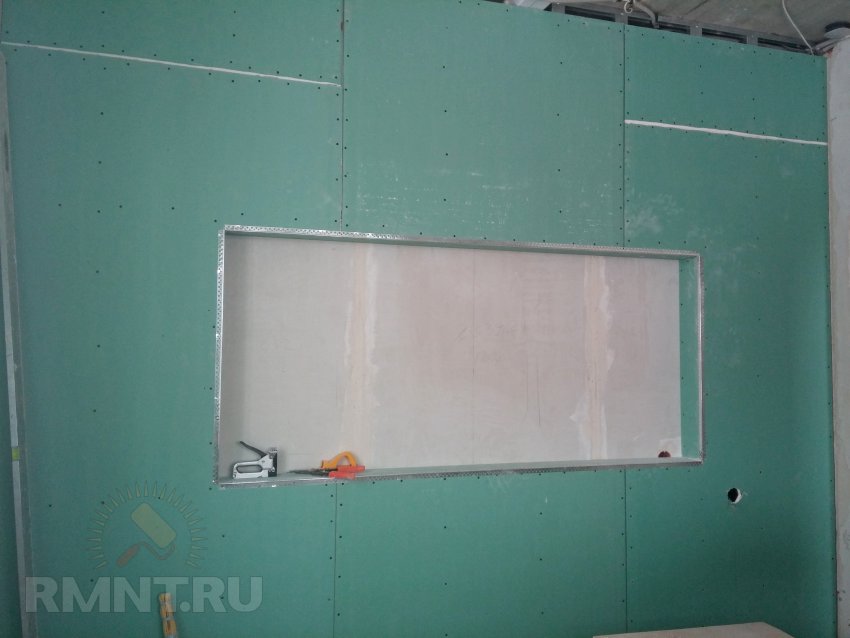
Final view after installation of drywall:
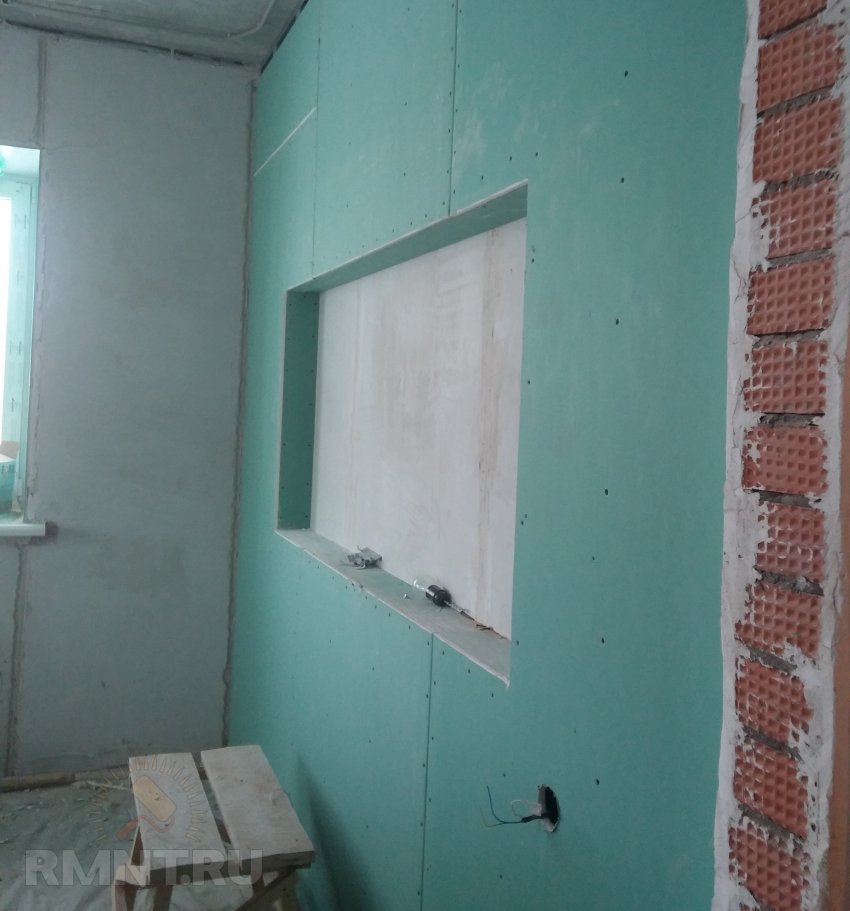
It remains to prepare the plane for puttying. We embroider the corners with a plaster float and the joints with a knife.
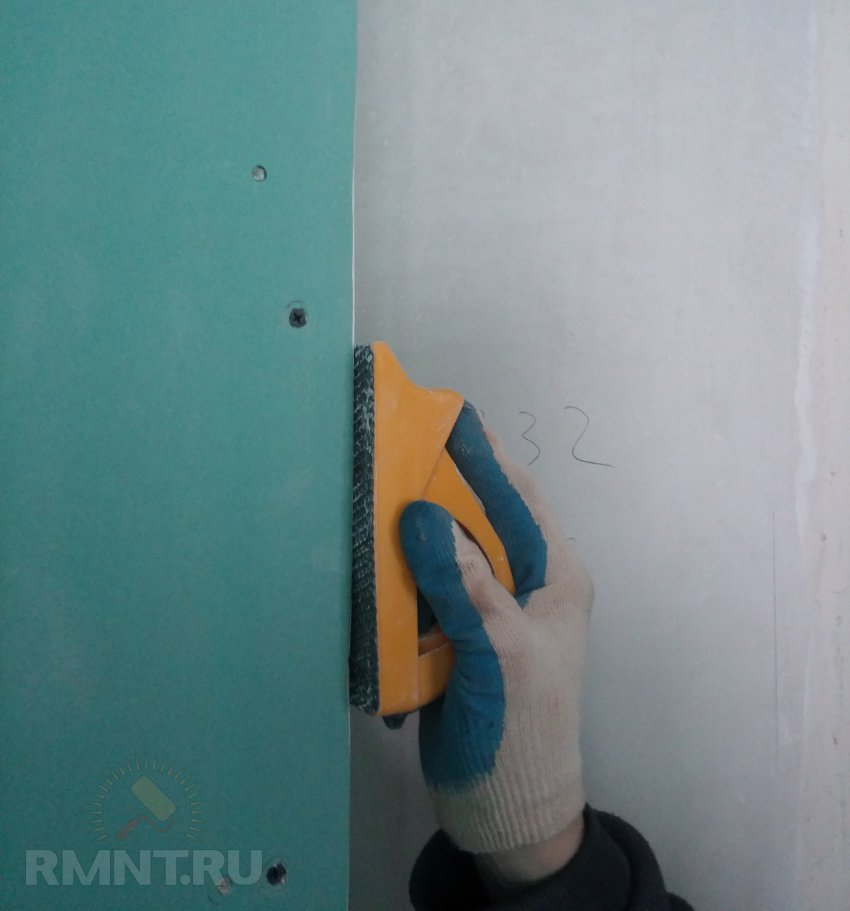
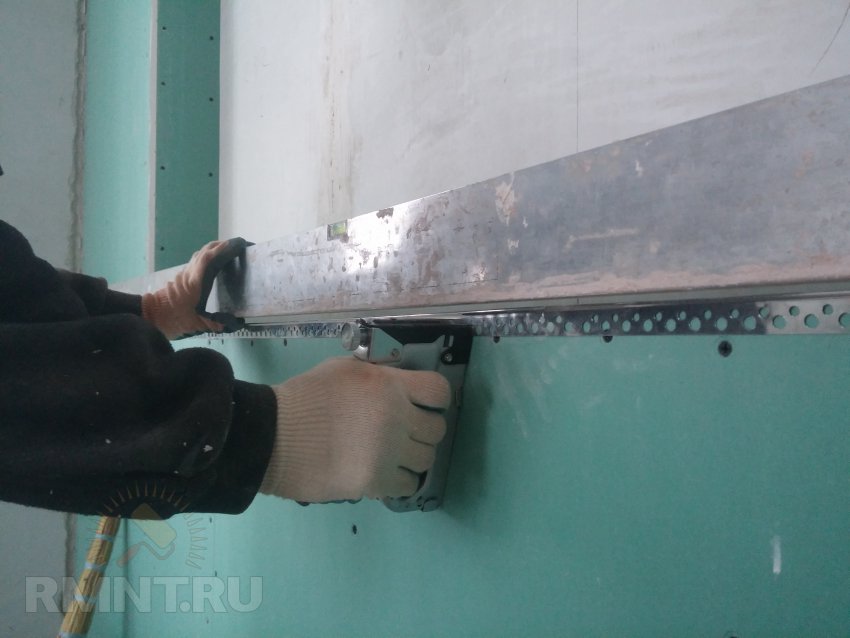
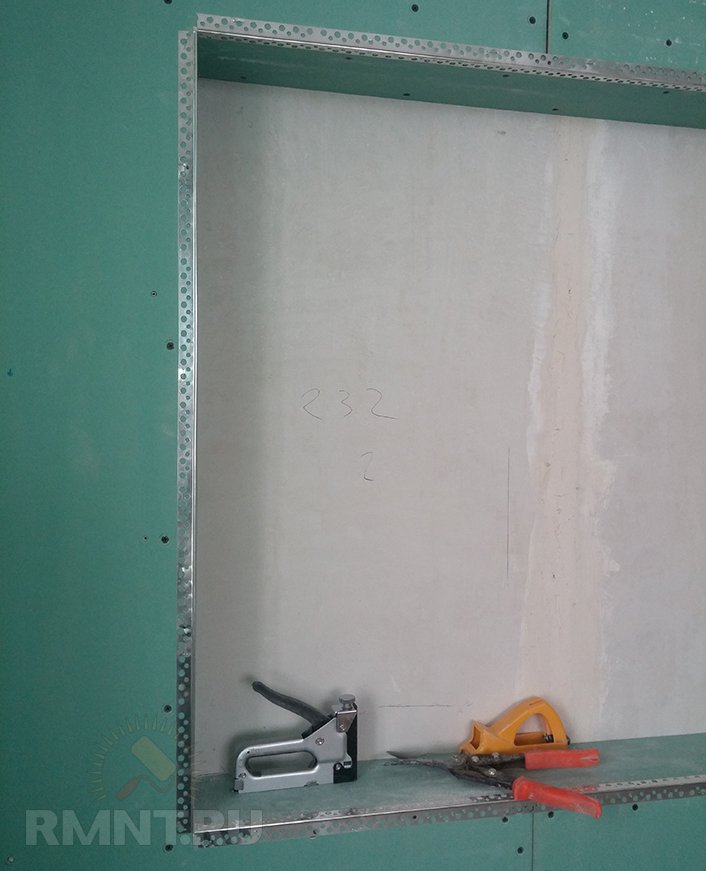
Carefully checking the accuracy of horizontals and verticals, we sew a perforated corner with a stapler.
The final view of the drywall niche:
If in your case there is a need to use a wall for hanging something, be sure to install reinforcements - double ribs. At the same time, U-shaped suspensions should be of a different class - more powerful. In the future, the niche can be given any three-dimensional look, using various methods of finishing and decoration - tiles, wallpaper, curtains, artificial stone.