How to assemble computer furniture yourself, a guide to action
So that working at a computer does not bring physical inconvenience, and office supplies, the necessary folders with papers are always at hand, ergonomic computer furniture is needed. As a rule, showrooms present items from the best side, but they are delivered unassembled to the office or home of the buyer. Proper assembly of computer furniture is a very important step. It will save the owner's nerves, ensure a long service life for interior items. To assemble furniture, you can contact the services of an assembler or do it on your own.
After opening the package, it is necessary to disassemble the fasteners by size. For small parts, it is best to define a separate container. All elements should be compared with the number indicated in the scheme. Fasteners may include:
- screws;
- Screws with nuts;
- Fastening corners;
- Wooden spikes for connecting parts;
- Screwdriver keys.
It is important to consider that the manufacturer already provides high-quality furniture with a full set of fasteners and holes. Otherwise, the fasteners will have to be purchased separately.
To assemble the kit you will need:
- Screwdriver;
- Flat and Phillips screwdrivers, preferably with a magnet that attracts nuts and screws;
- Small mallet;
- Pliers;
- Ruler with a corner;
- Level;
- Roulette;
Assembling computer furniture is a process that requires accuracy. In order not to damage objects, you need to follow simple rules.
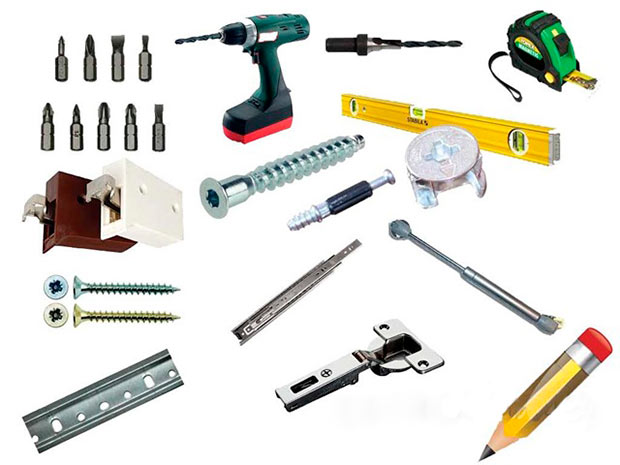
Tools and Fasteners
Computer furniture assembly technology
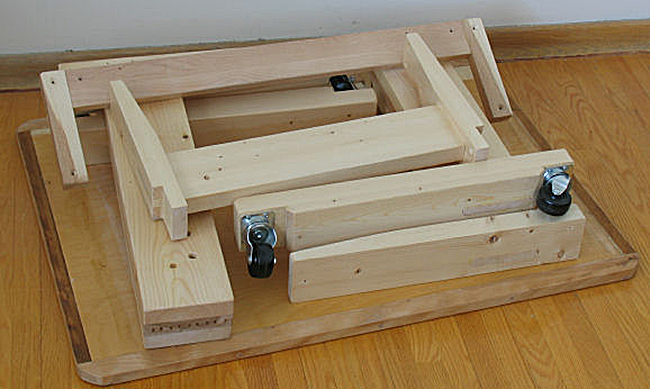
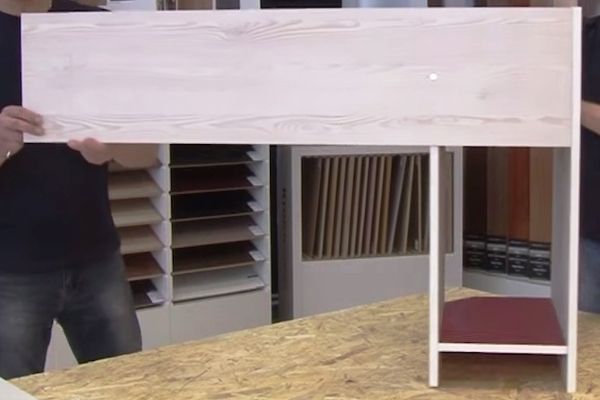
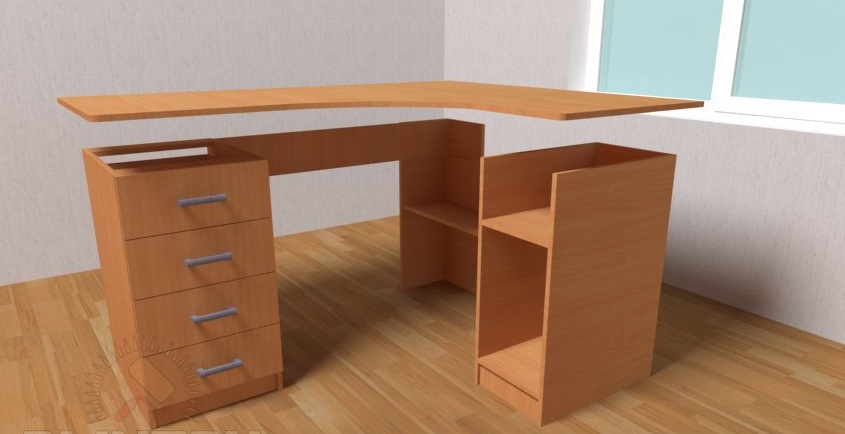
First you need to lay out all the details on the surface where the furniture will be assembled. It can be a floor covered with a protective film, or a special podium. It is recommended to clean the parts from dust. If we are talking about the installation of a computer table, then it is more rational to start it with a “box”, that is, to assemble the bottom of the table (stand), side walls and countertop. In this case, the structure will gain stability. Before starting such work, it is important to check whether the frame will have guides along which the drawer rollers “slide”. Once the frame is ready, you can start working on the shelves, and then move on to the drawers.
The technology for mounting the furniture case comes down to two simple rules:
- Without a rigid frame attachment, the structure will fall apart like a house of cards. It is necessary to strictly fix the corners at 90 degrees;
- Any horizontal surfaces having a length of about a meter sag without supports. Therefore, partitions supporting, for example, a countertop, should be mounted together with the frame in the first place.
Assembling computer furniture is not such a complicated process as it might seem at first glance. Errors will not occur if you strictly follow the diagram and drawings.
Lay out the pieces on the floor
We assemble the box and other large parts
We create a box for a computer or guides for it
Installing the back wall
We collect boxes
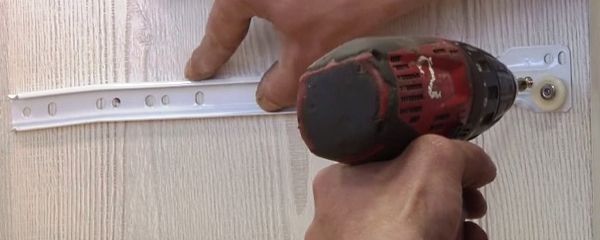
We fix the guides, and already assembled boxes to them
We mount shelves
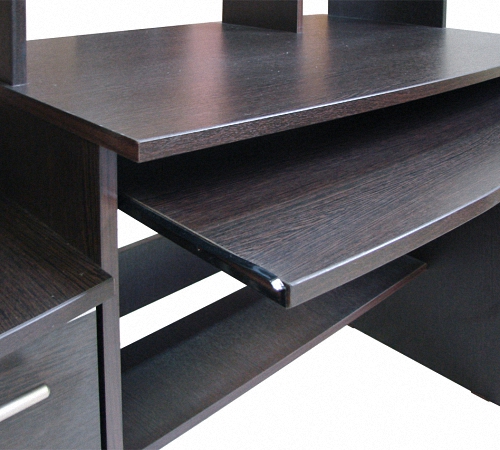
Installing the keyboard stand
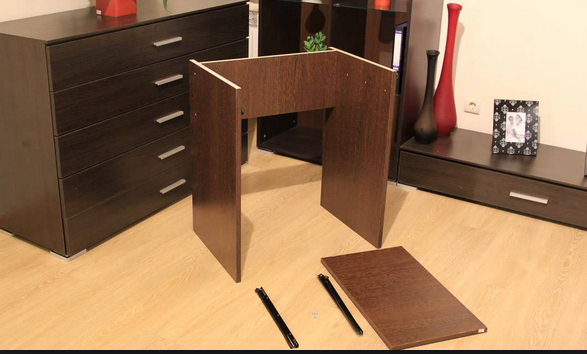
We connect all the big parts
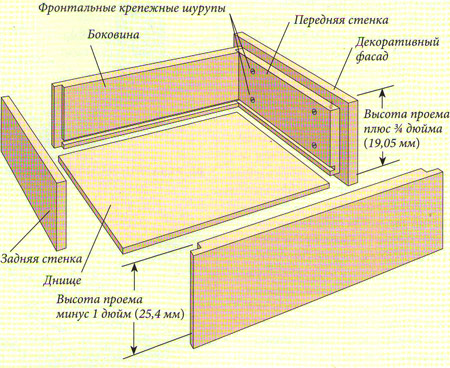
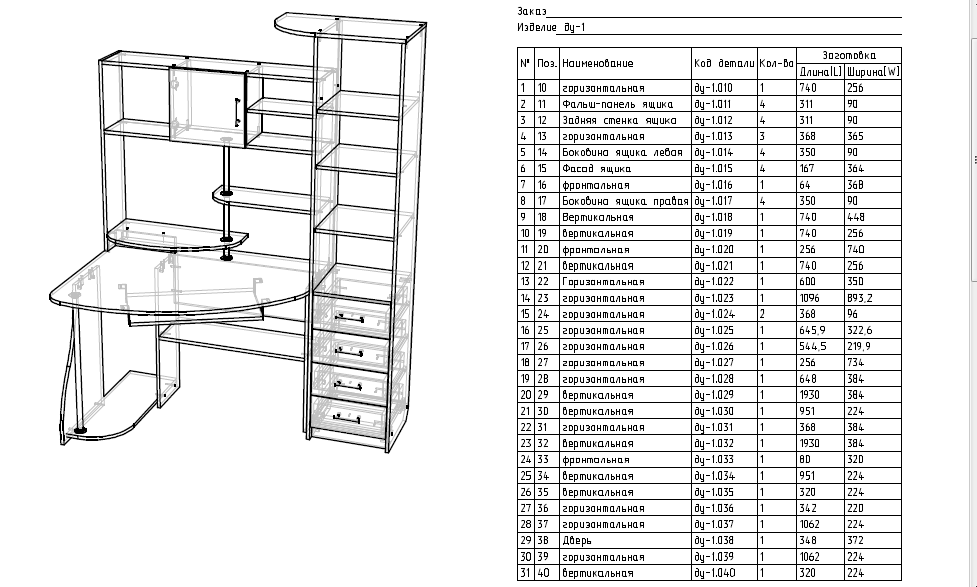
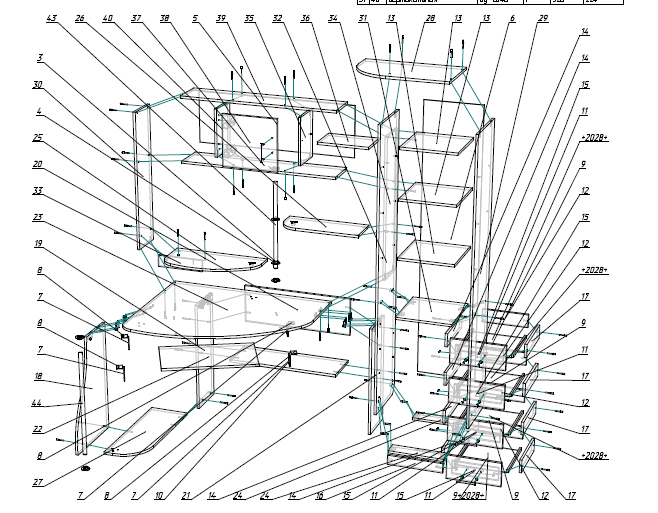
Diagrams and drawings of computer furniture assembly
These documents contain the order of fastening the elements, the general view of the furniture, the dimensions and the description of its details. As a rule, the elements and the order of work are indicated under the numbers. The drawing must display the furniture both in full face and in profile, contain indications of the dimensions of parts and fasteners, the distance between them. The diagram can show individual parts, as well as their groups, for example: sidewalls, bottom, countertop, facade, fittings.
Consider an example of mounting a computer desk according to the scheme:
- a box is assembled, with markings for guides;
- side walls are connected to the table top and bottom stand;
- if the model assumes bezels on the bottom stand, they are attached next;
- the back wall is attached to the box;
- boxes are assembled according to the scheme in a certain sequence, guides are mounted on the side walls;
- the boxes are inserted into the grooves of the guides, the facade and fittings are attached to them;
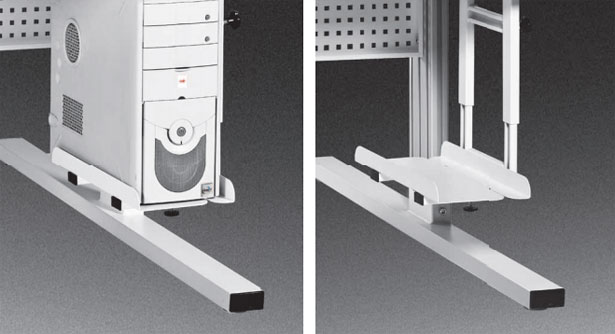
- the tray for the system unit is made in the same way as the box;
- if the model has supports, then they are usually mounted on the countertop according to the drawer scheme.
After assembling the entire structure, it is necessary to check the reliability of the fasteners. Furniture must be stable and not wobble.
Checking the reliability of fasteners
Common build errors
To assemble furniture with your own hands, you need to pay attention to some secrets and nuances that will help you avoid frequent and gross mistakes. It is these unfortunate blunders that can reduce the quality of the product, its service life, appearance, and sometimes even spoil items. It is important to consider the following:
- The first aspect that no instruction will tell you about, but that all assemblers know about, is working with an assistant. An extra pair of hands and eyes is never superfluous;
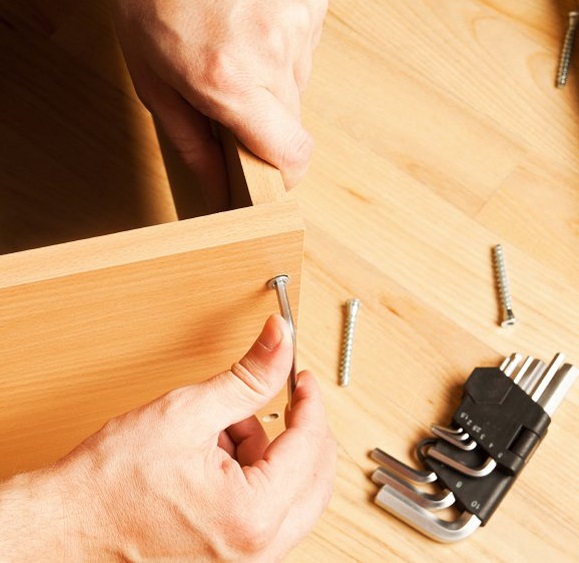
- often computer furniture is made from MDF. This is a soft material and is easily damaged. Therefore, instead of a drill, it is better to use an ordinary screwdriver;
- when installing the cabinet box and drawers, it is important to check the corners. They must be strictly 90 degrees. Furniture should not be skewed. This is easy to check by level;
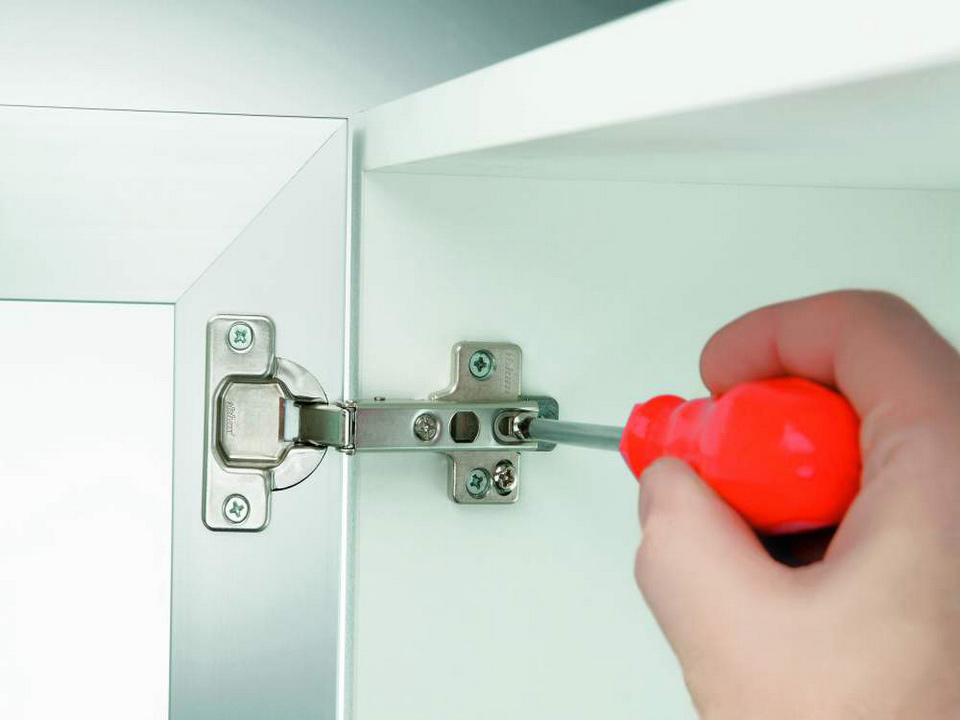
- loops should be tightly "planted";
- when attaching the back wall to the box, it is best to use self-tapping screws instead of nails;
- the computer desk has holes that are closed with plugs. These small details are easily lost, so they are recommended to be glued to the surface;
- working with a screwdriver, you can accidentally scratch the furniture. If there is a protective film on the elements, it is better to remove it at the end of the work.
Assembling computer furniture requires deliberation. Strict adherence to the instructions and accuracy will help to qualitatively perform the work on its installation.
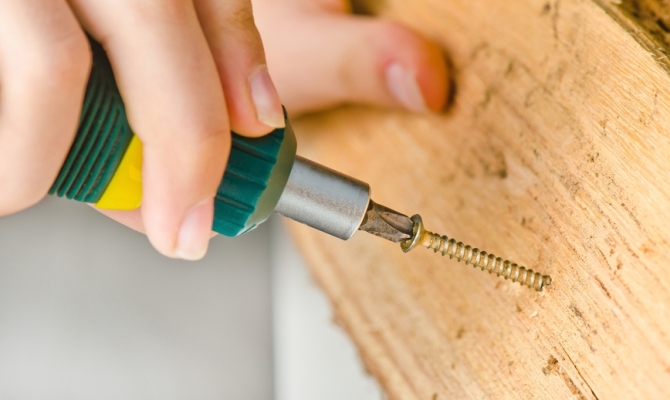
Use a screwdriver instead of a drill
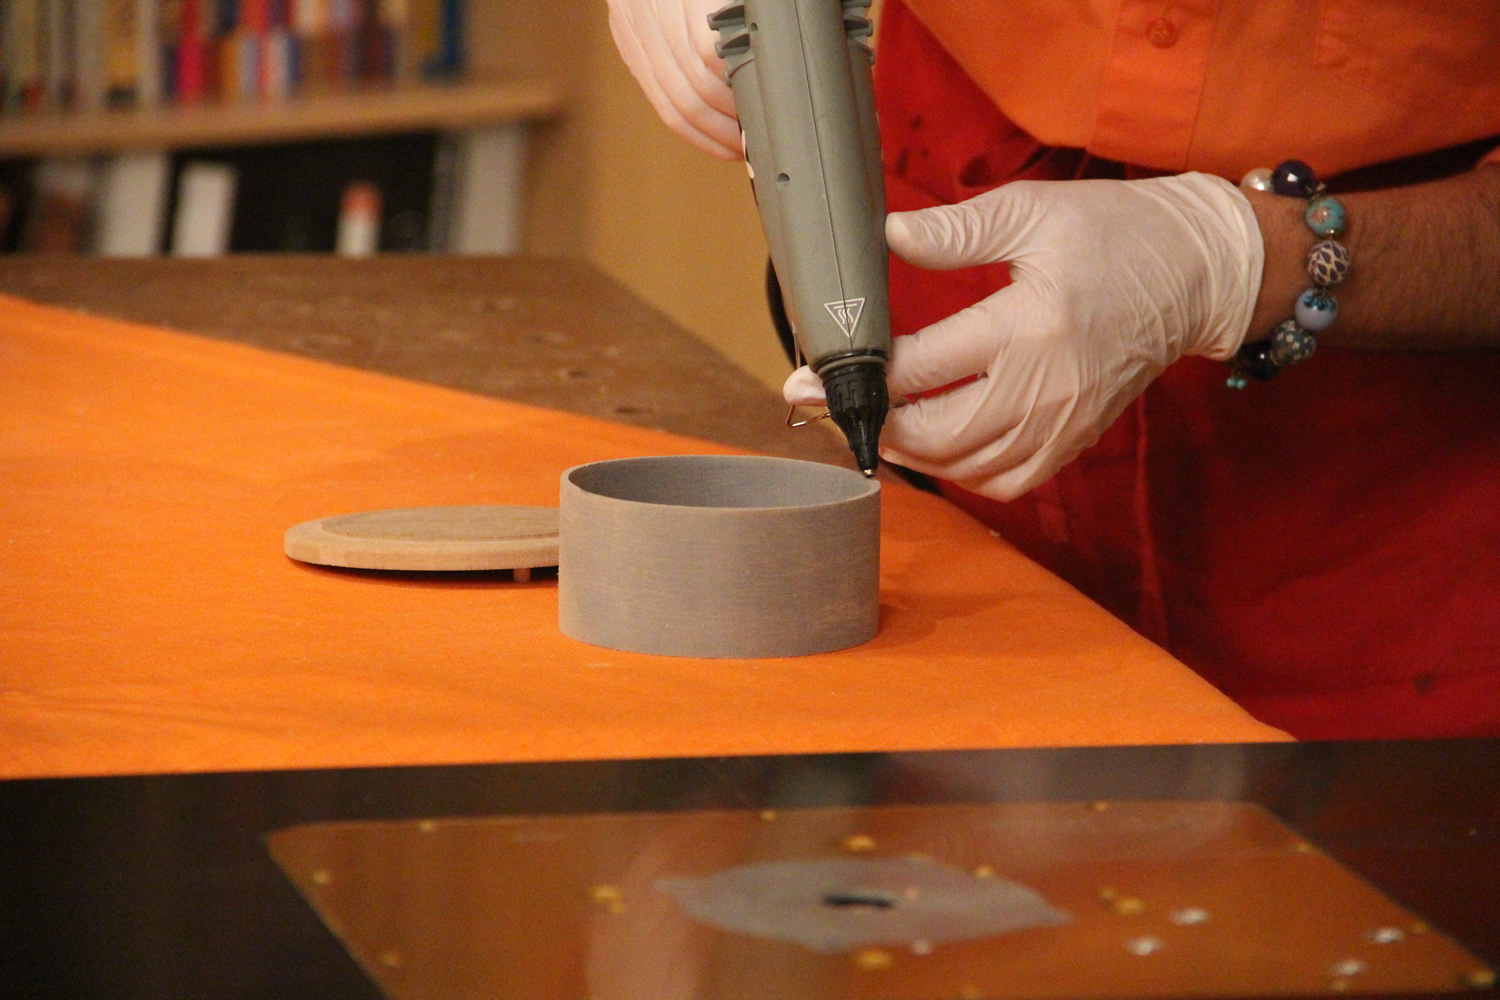
Glue the plugs